This week was a single goal, working on a single project, an all-hands-on-deck situation. We had a video project for the thesis studio, where we were supposed to make a video that represents our thesis without any additional explanation from us.
Potential challenges and pitfalls:
While it was a “video” project, we weren’t necessarily bound to the typical “point the camera and shoot a video” format, as one might think. Given that freedom, the first big challenge for me was to figure out the best way to utilize this project to do justice to my thesis idea. I did not want my project to lose its best qualities: the variety of visual styles I am playing with, the slight humor, and the tensions of the narrative. However, if I wanted to get across EVERYTHING and have it all maintain some integrity, it was going to be a tricky project to do within a week’s time. My project itself has a lot of practical work involved, which includes lots of drawings and illustrations, different visual styles, different parts to the narrative, it covers the genres of drama, slight humor, and awareness, etc. There was no way I could’ve done enough illustration and animation to represent my thesis in a one-week video project. So, I thought maybe I could shoot things in real life, learn how to manipulate them to look less realistic and slightly illustrative, and then, if I could incorporate comics, a hint of gamification, and cover certain parts of the narrative as well. So I set sail on my video project and laid down a game plan.
Step 1: Develop a narrative
Since I wanted to cover as much from my actual thesis narrative as I could, I started to think of ways I could incorporate all of that in one sequence. The first thing that popped into my head was a “Day in the life of…” format where I take the viewer from the start to the end of my day, showing the different parts of my thesis within a span of a day, because let’s face it, we all have chaotic, “filled with everything” days! So I listed down all the different parts of the day I generally go through on one of those chaotic days. Then I shortlisted the ones that could cover most of the narrative from my thesis. Then I started minimizing even more since I only had a week to work on it, and I always get myself into a shit ton of work.
Step 2: Storyboarding
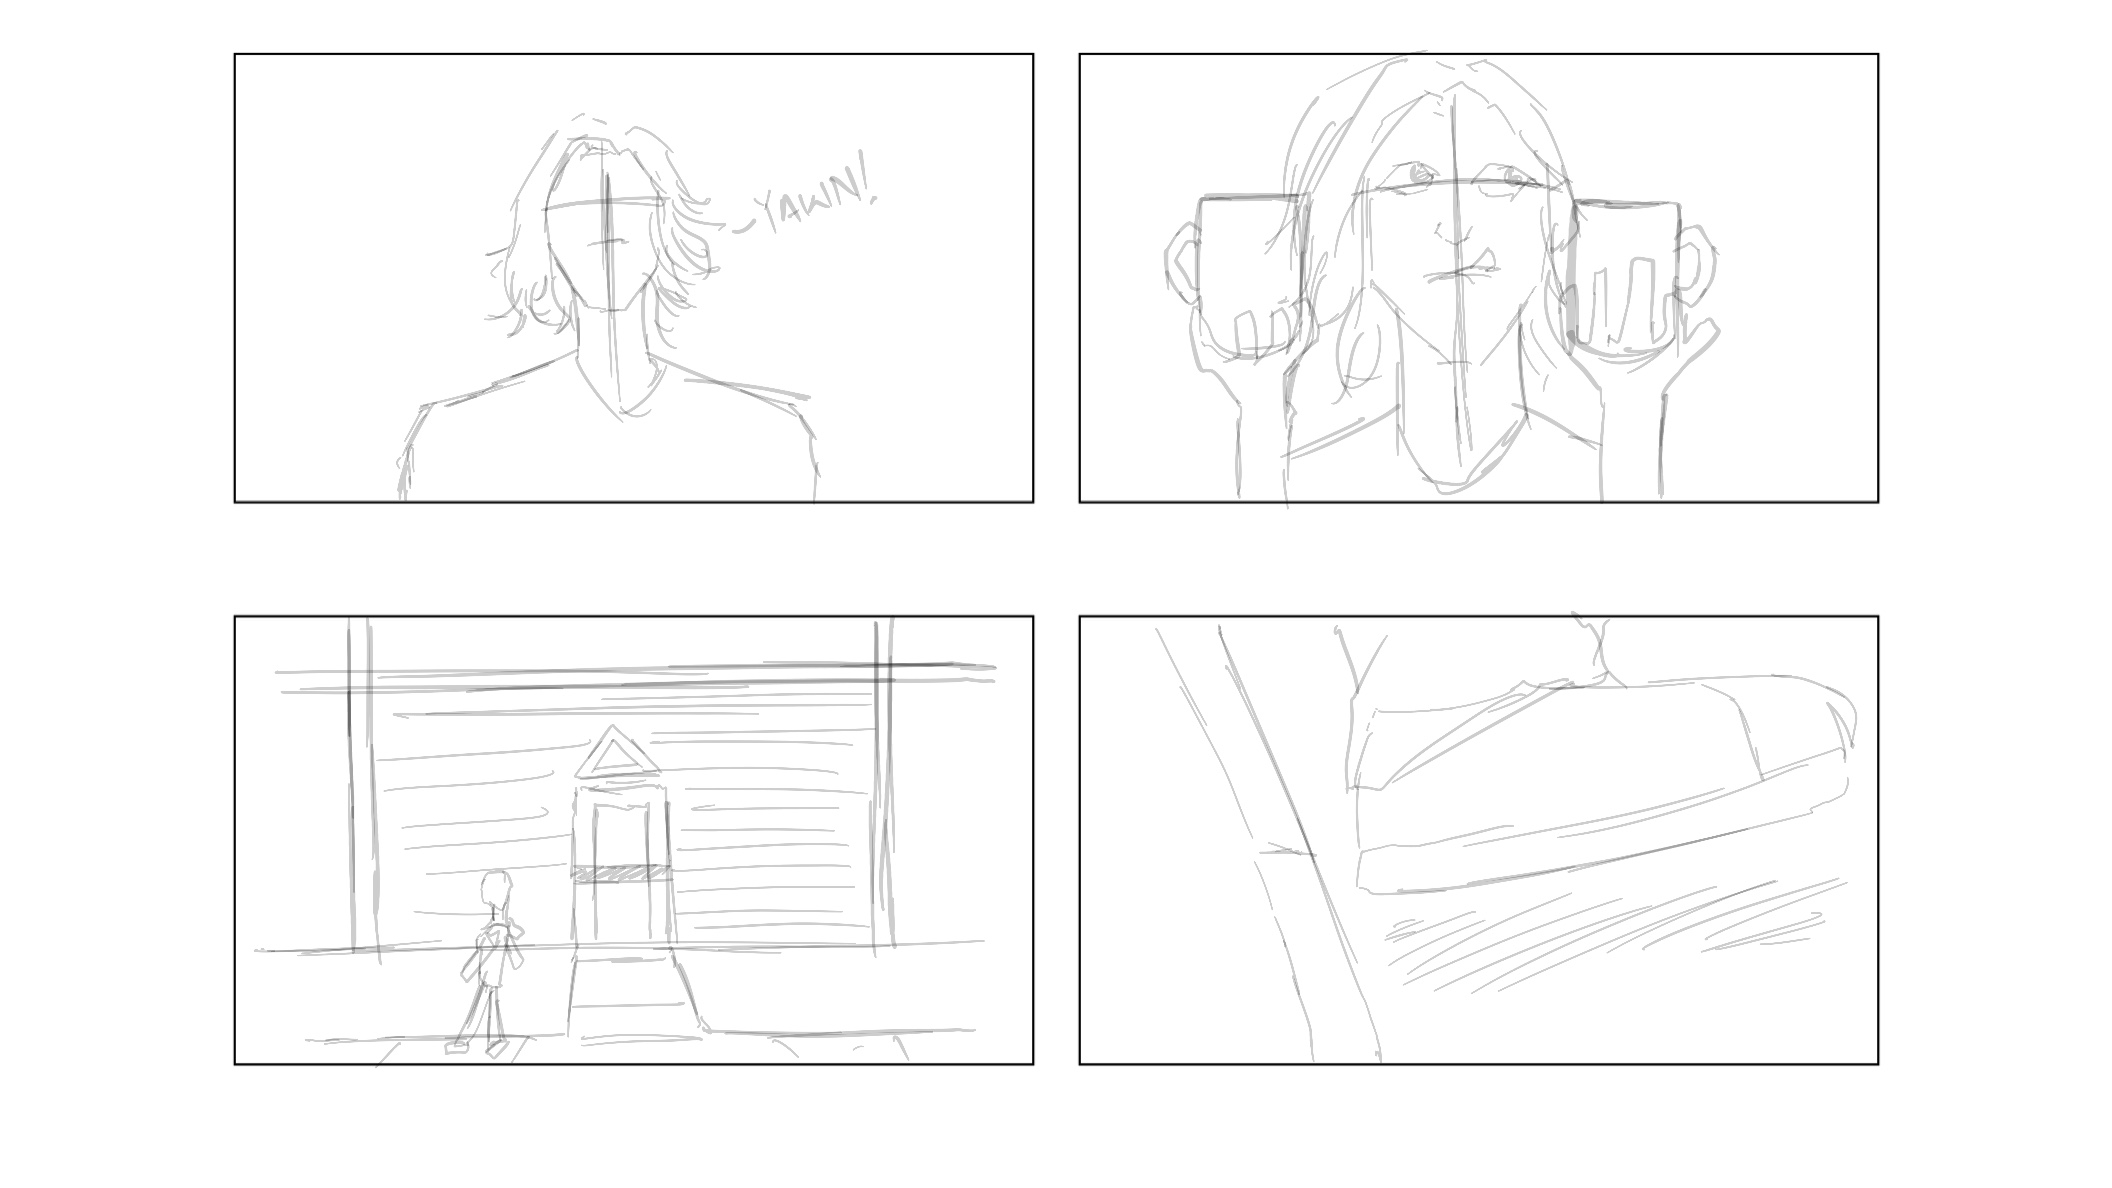
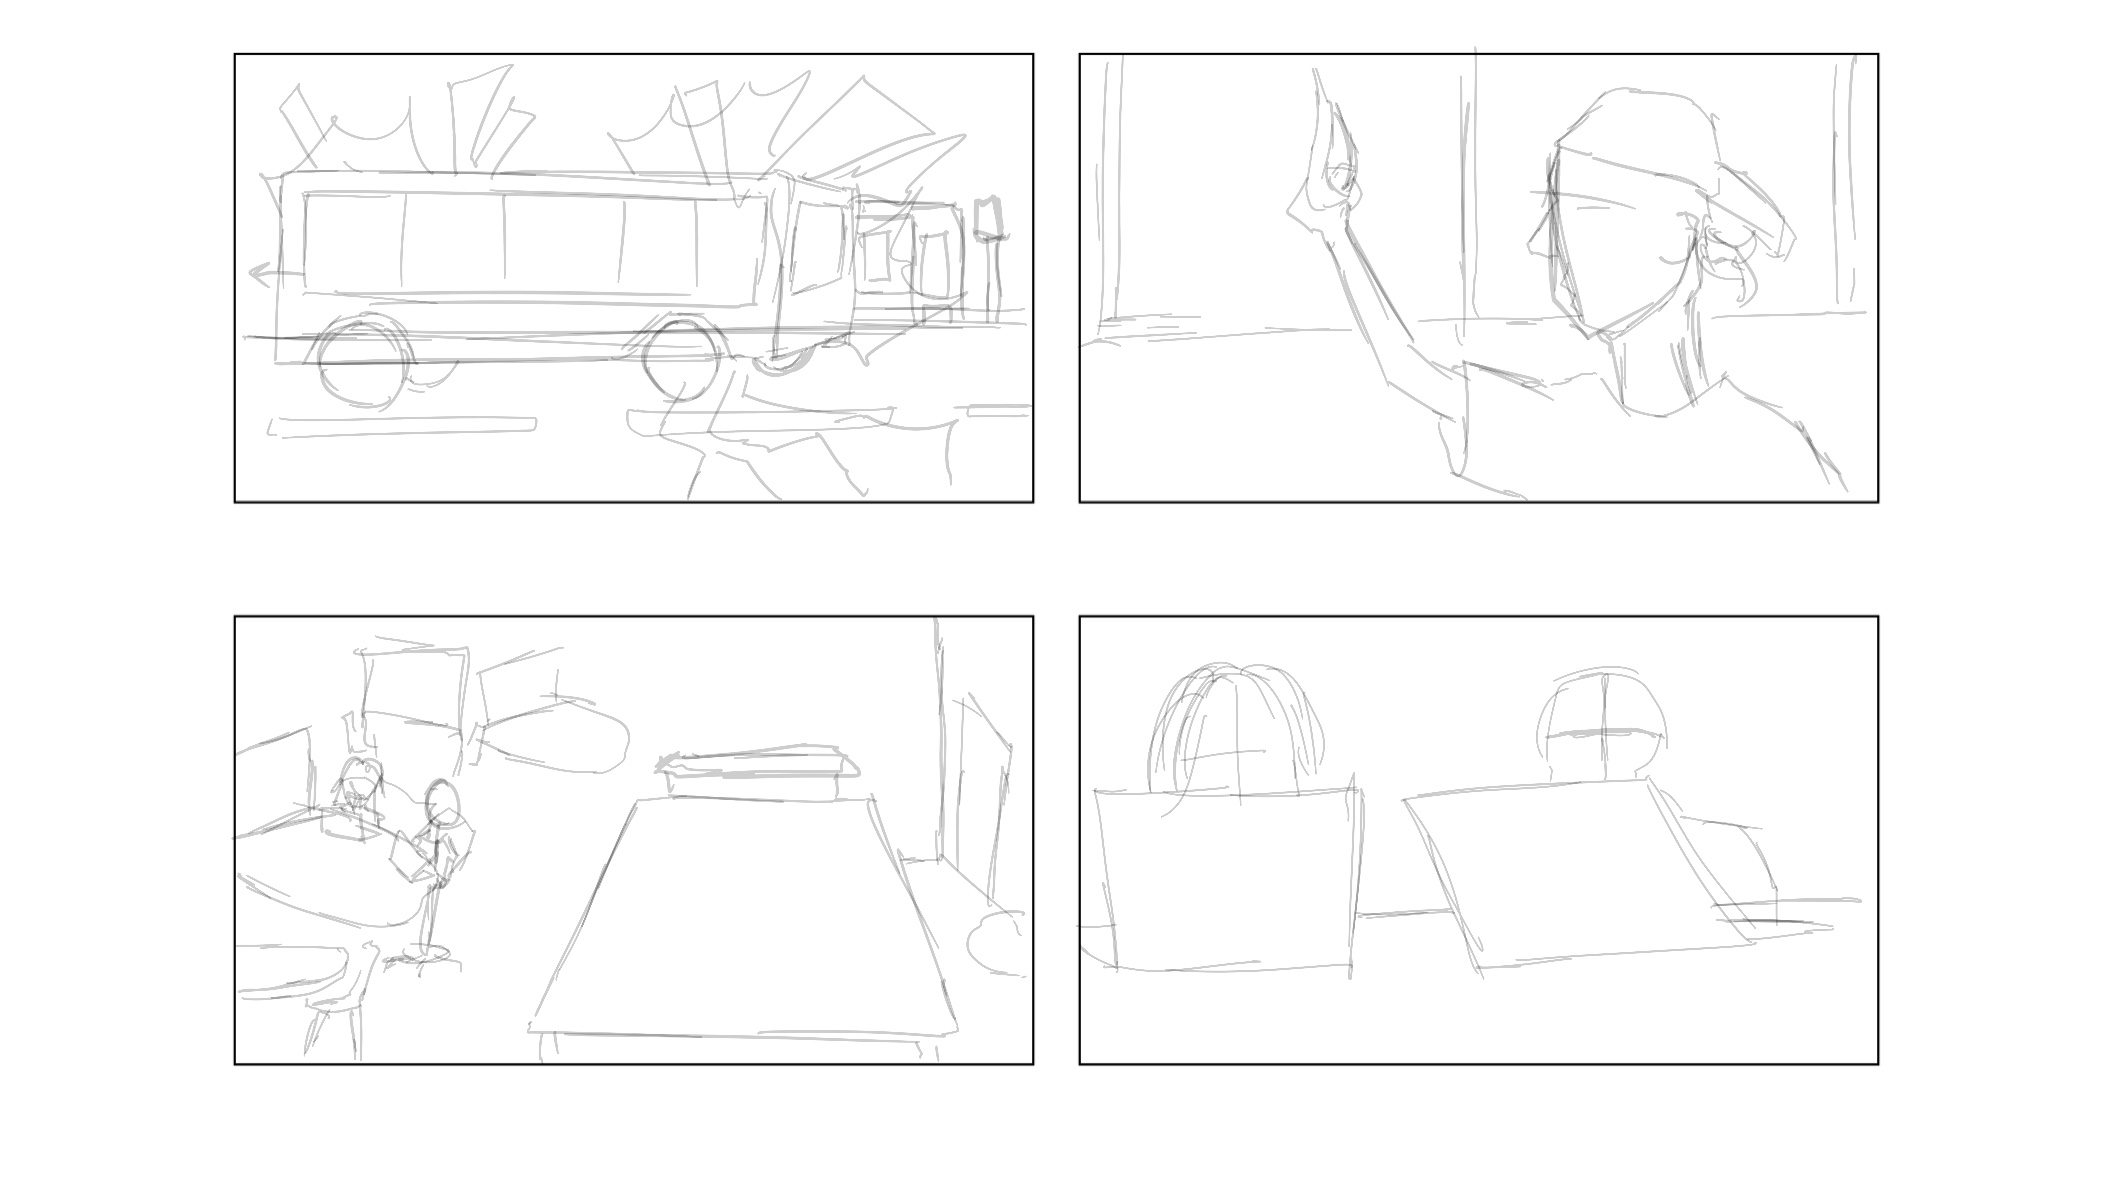
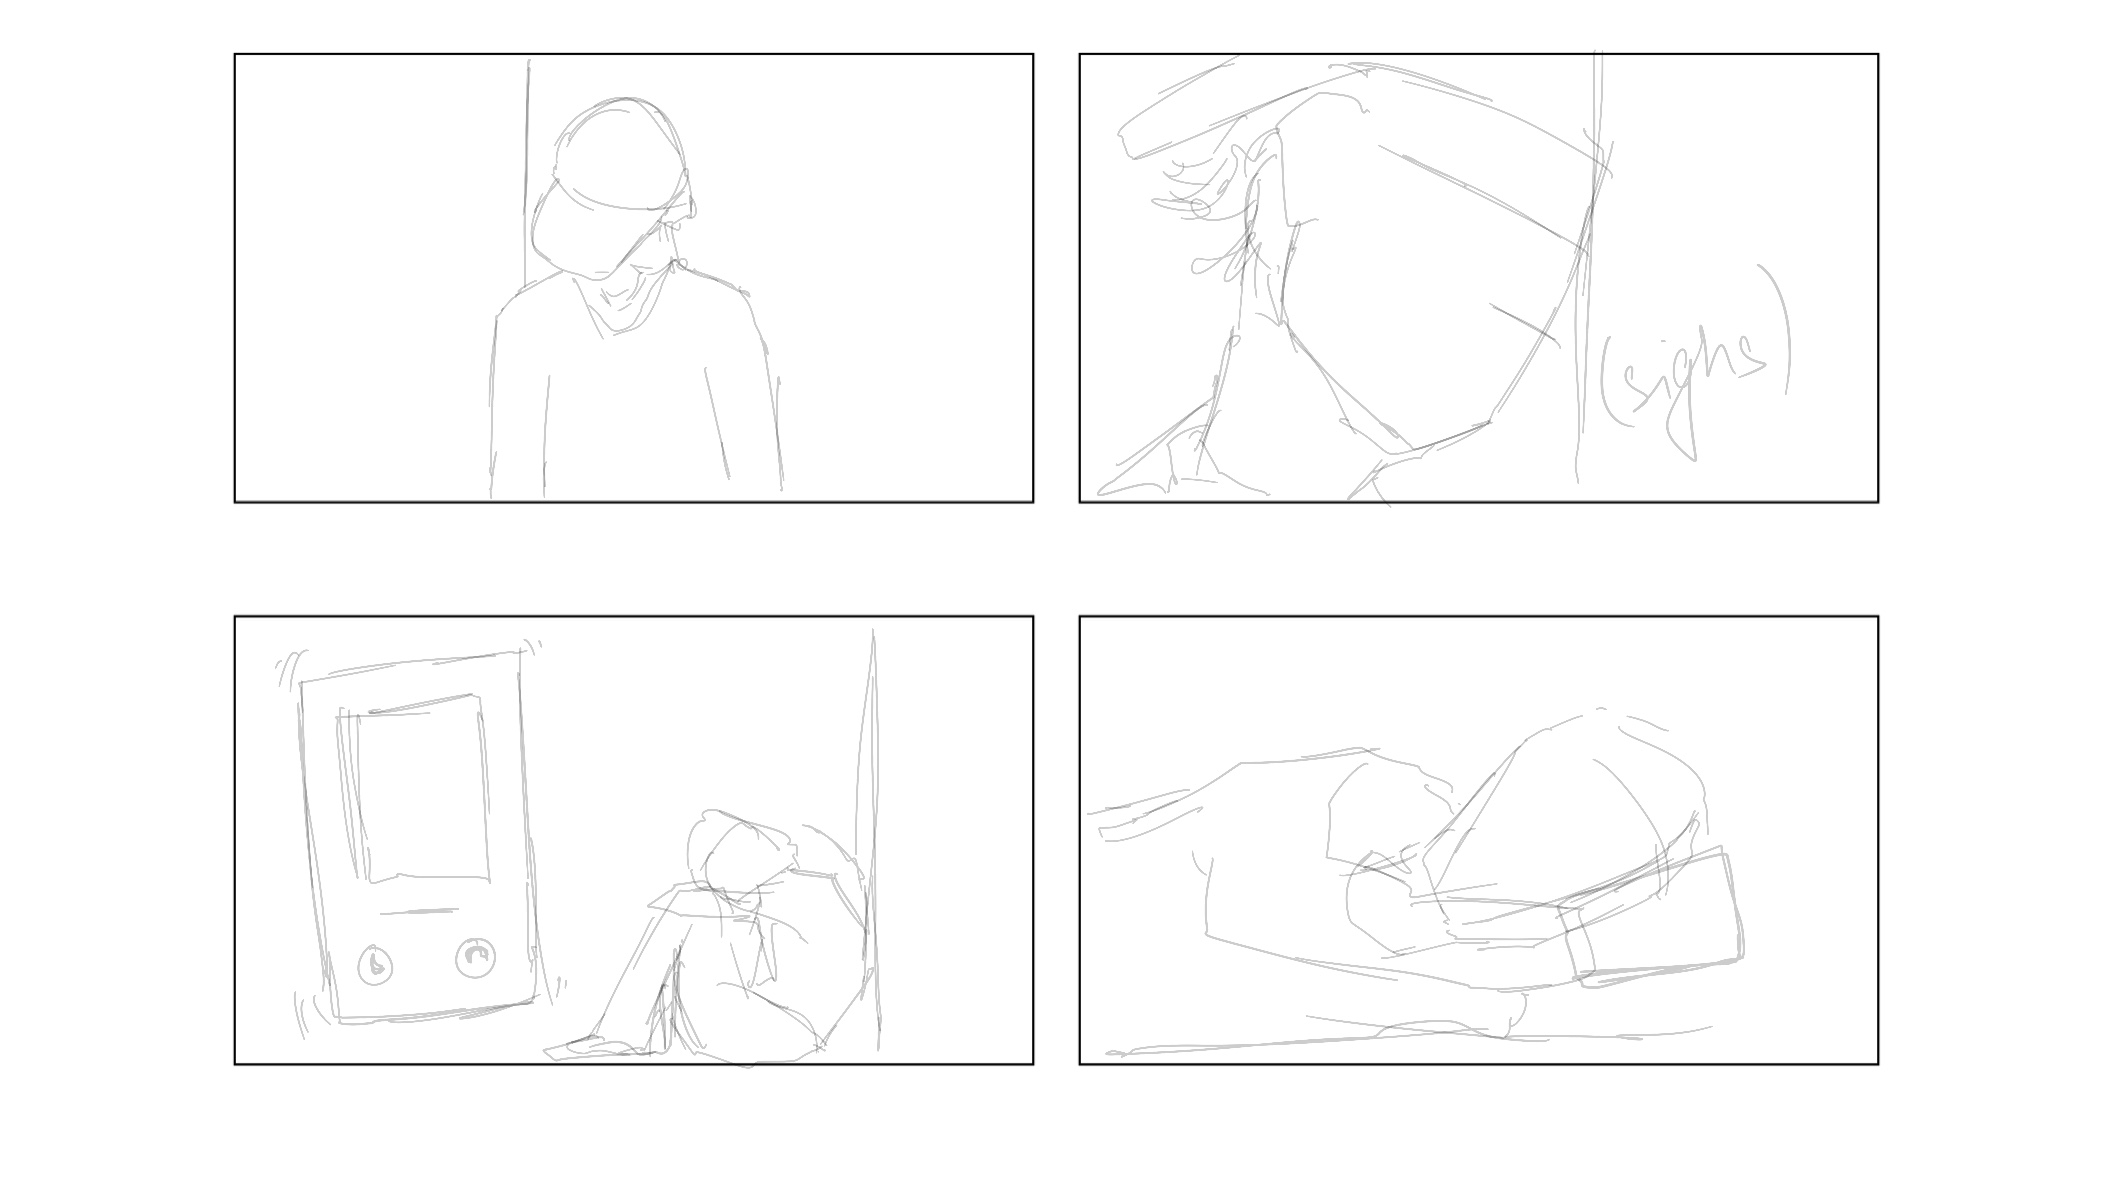
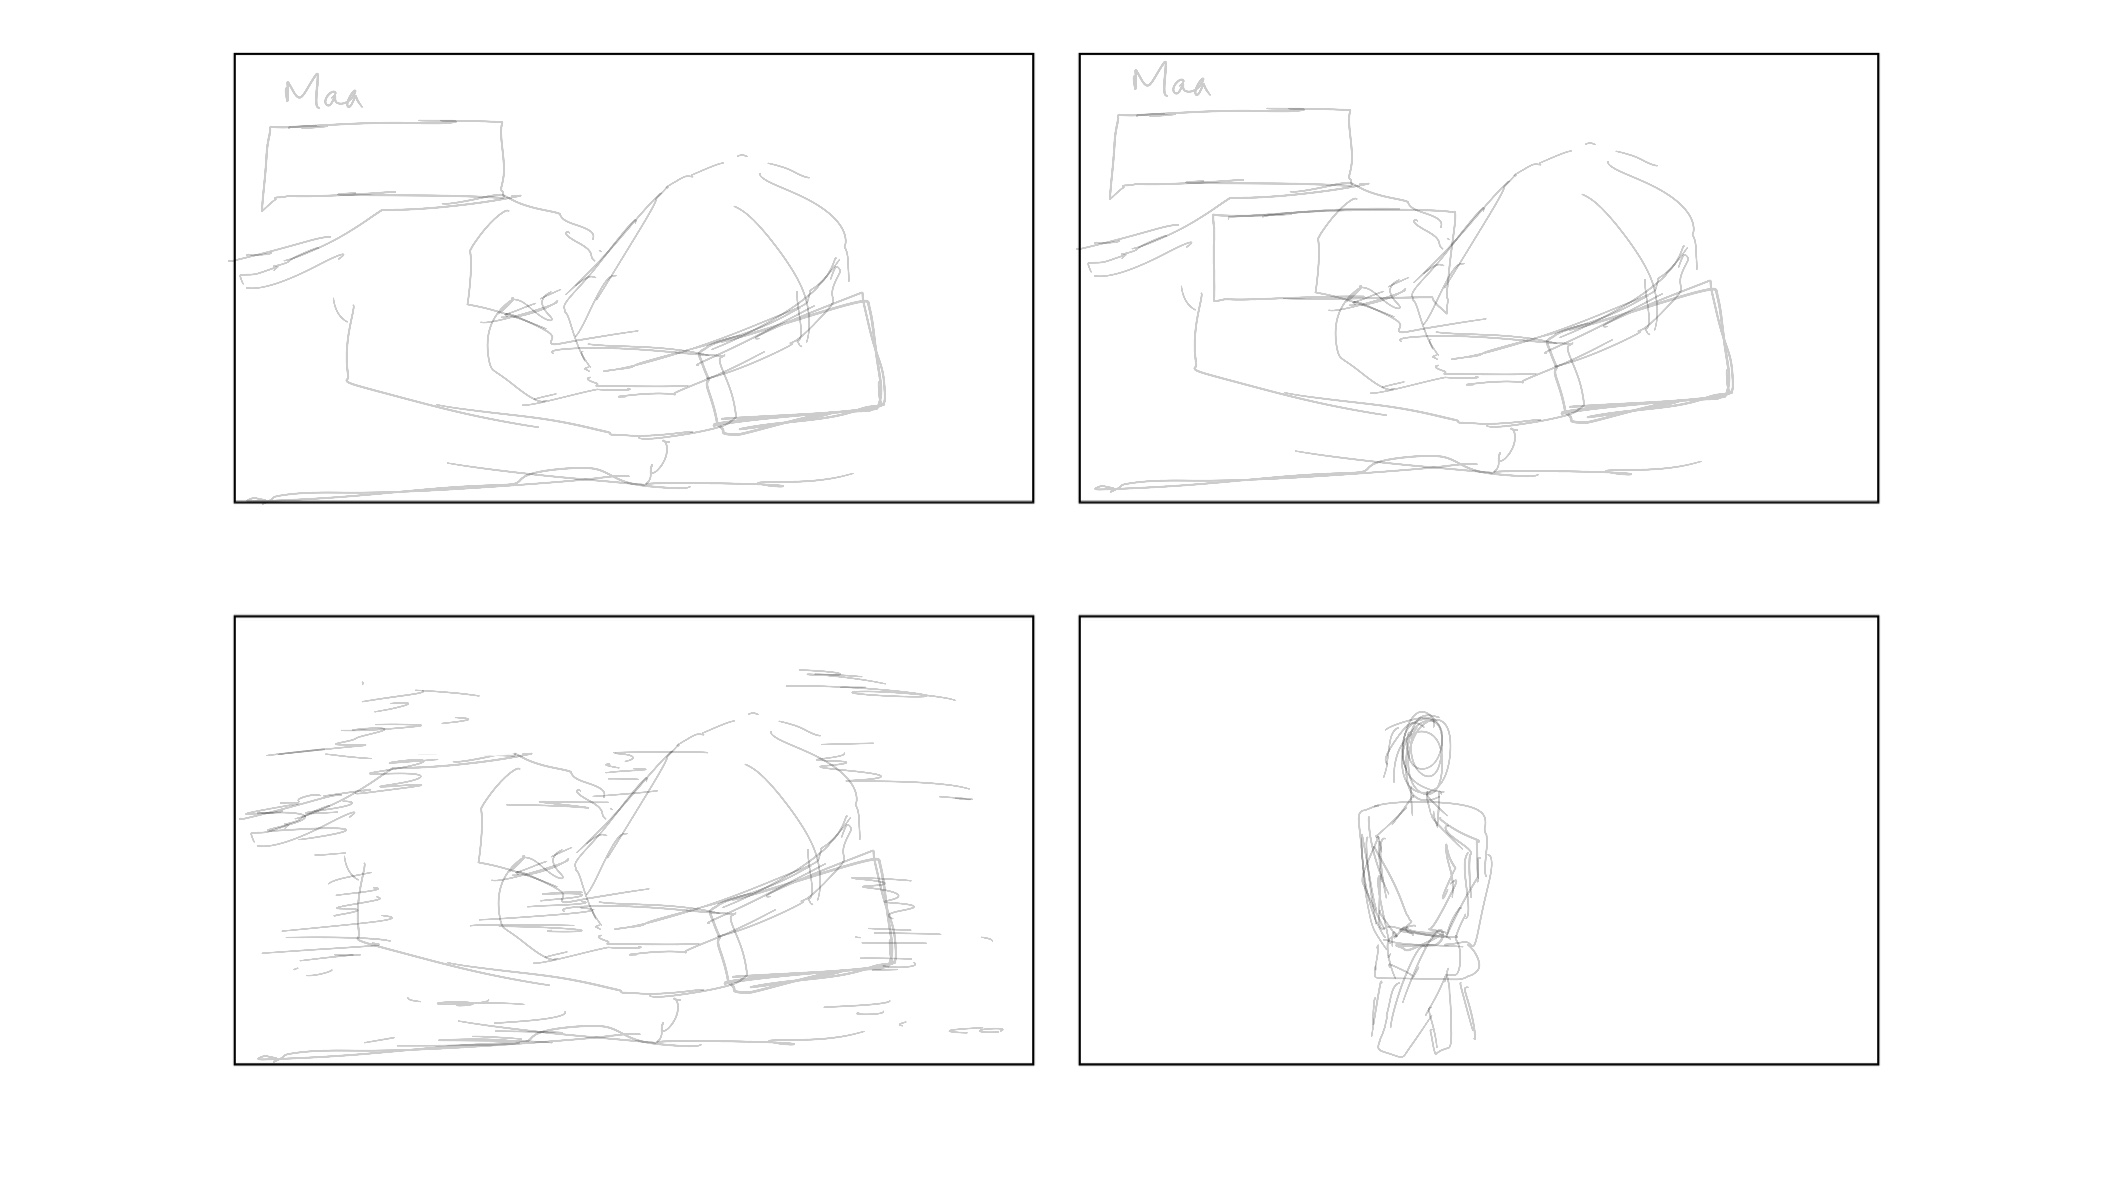
After having everything listed down in a tabular format, I knew I had to do a storyboard for it to lay down the idea in the first visual stage. At this stage, I had a total of 16 shots that I had laid out on a very questionably rough storyboard, but everything needed to be quick, so I wasn’t too worried about how pretty the storyboards looked. To back this argument, storyboards are made to help the cinematographer understand what the director wants in a shot and how they want it composed, but since I am both the director and the cinematographer, I will be fine working with the storyboard I did.
Step 3: Recording
I have shot short films and video content before, and I knew how much I mess that up, so I needed to be prepared for anything and everything. I needed to consider a lot of things: my hands tremble, so I need to find a way to shoot with some stability, I would need to add animations to the footage so I can have them be too complex, I need the lighting for each scene to make sense in a sequence, so it looks like one sequential day, I don’t necessarily need sound for each scene so I don’t need to worry about that or any other unnecessary details. I was ideally looking for a gimbal to have my shots be super fluid and smooth, but then I realized I shouldn’t have a lot of camera movement, so the shots are easy to manage in post-production and incorporate external animations, but then I found a tripod (shoutout to Alex!) to be my solution, and no camera movement at all.
Step 4: Post-Production
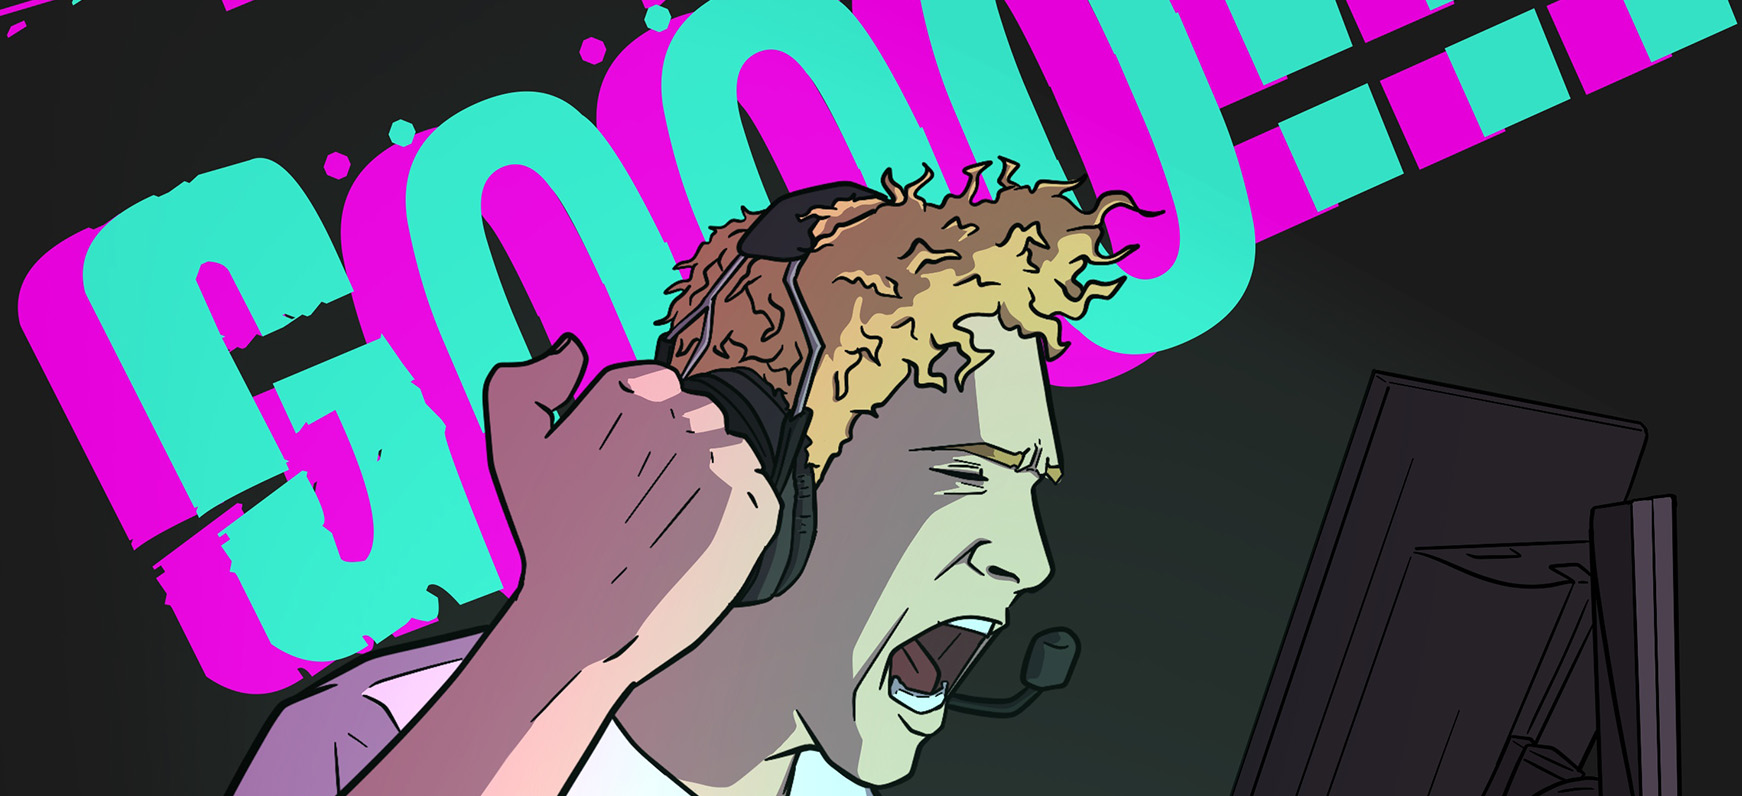
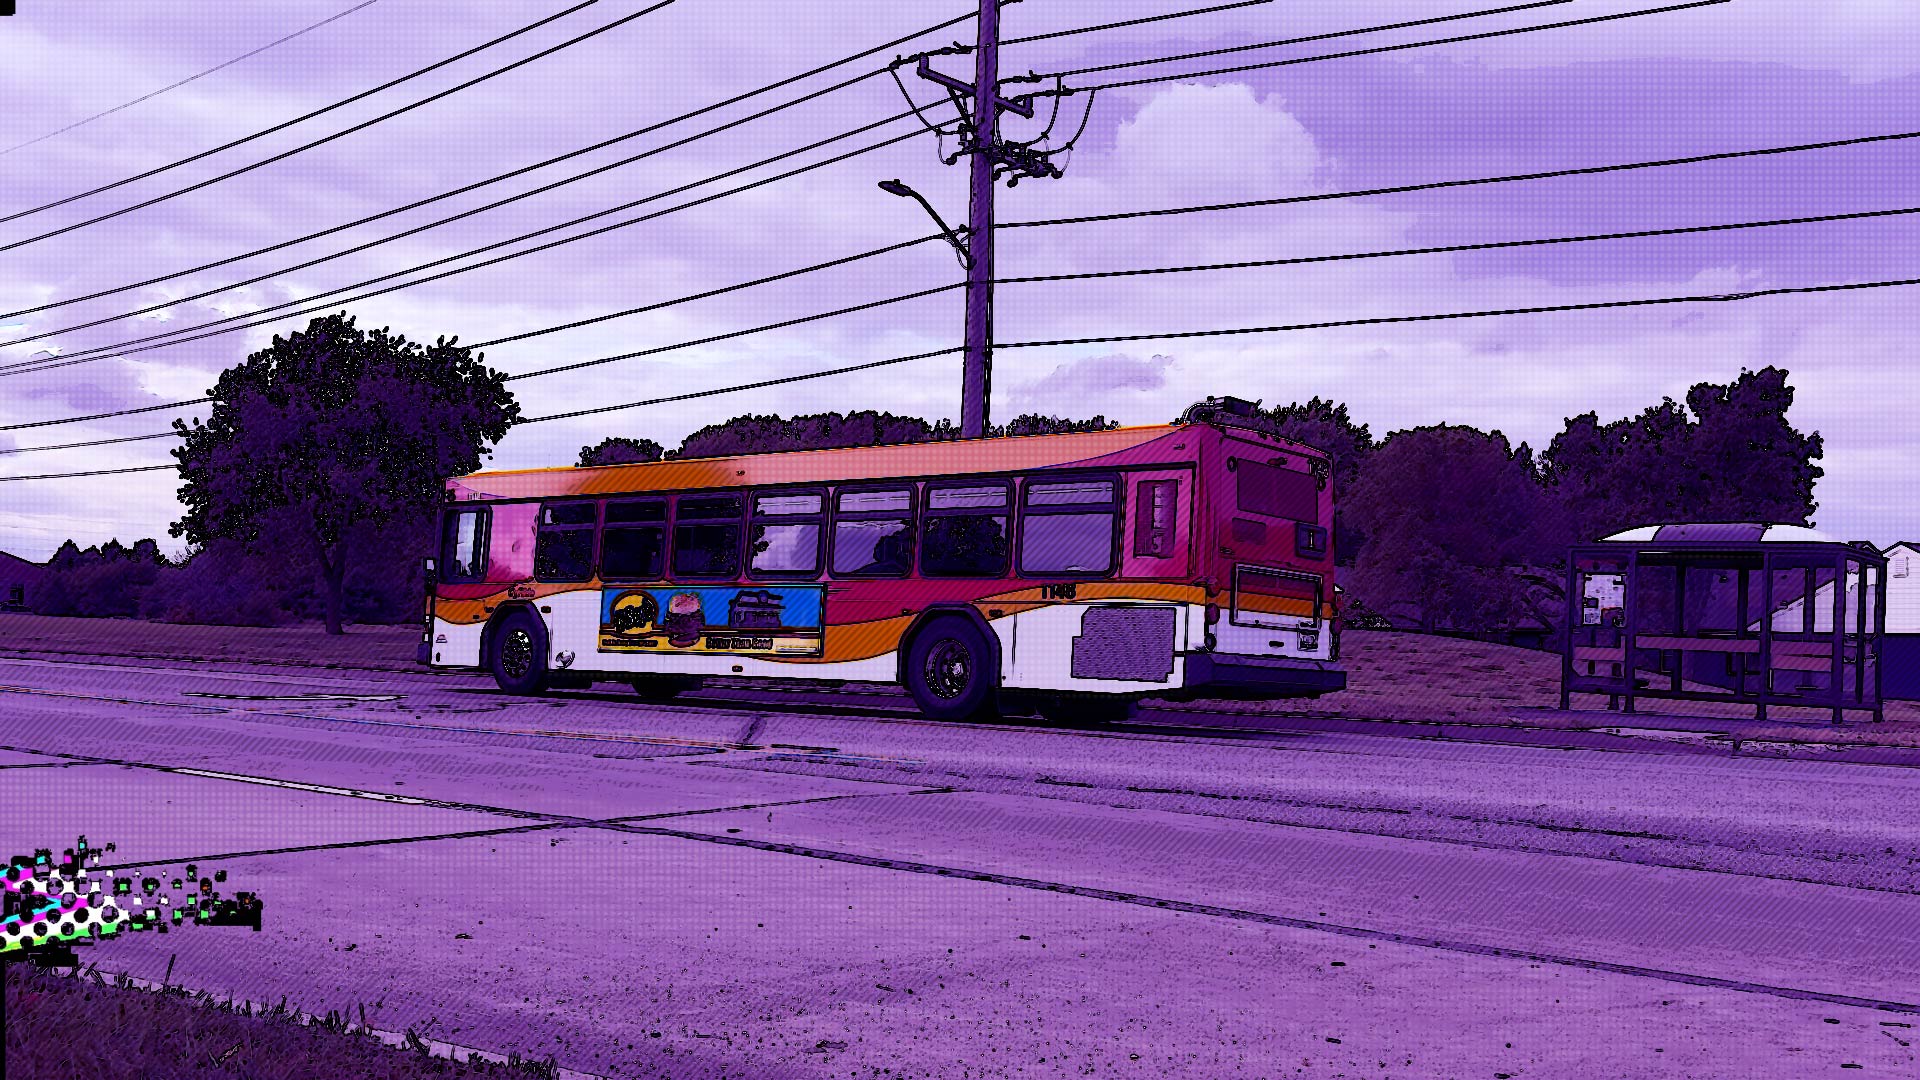
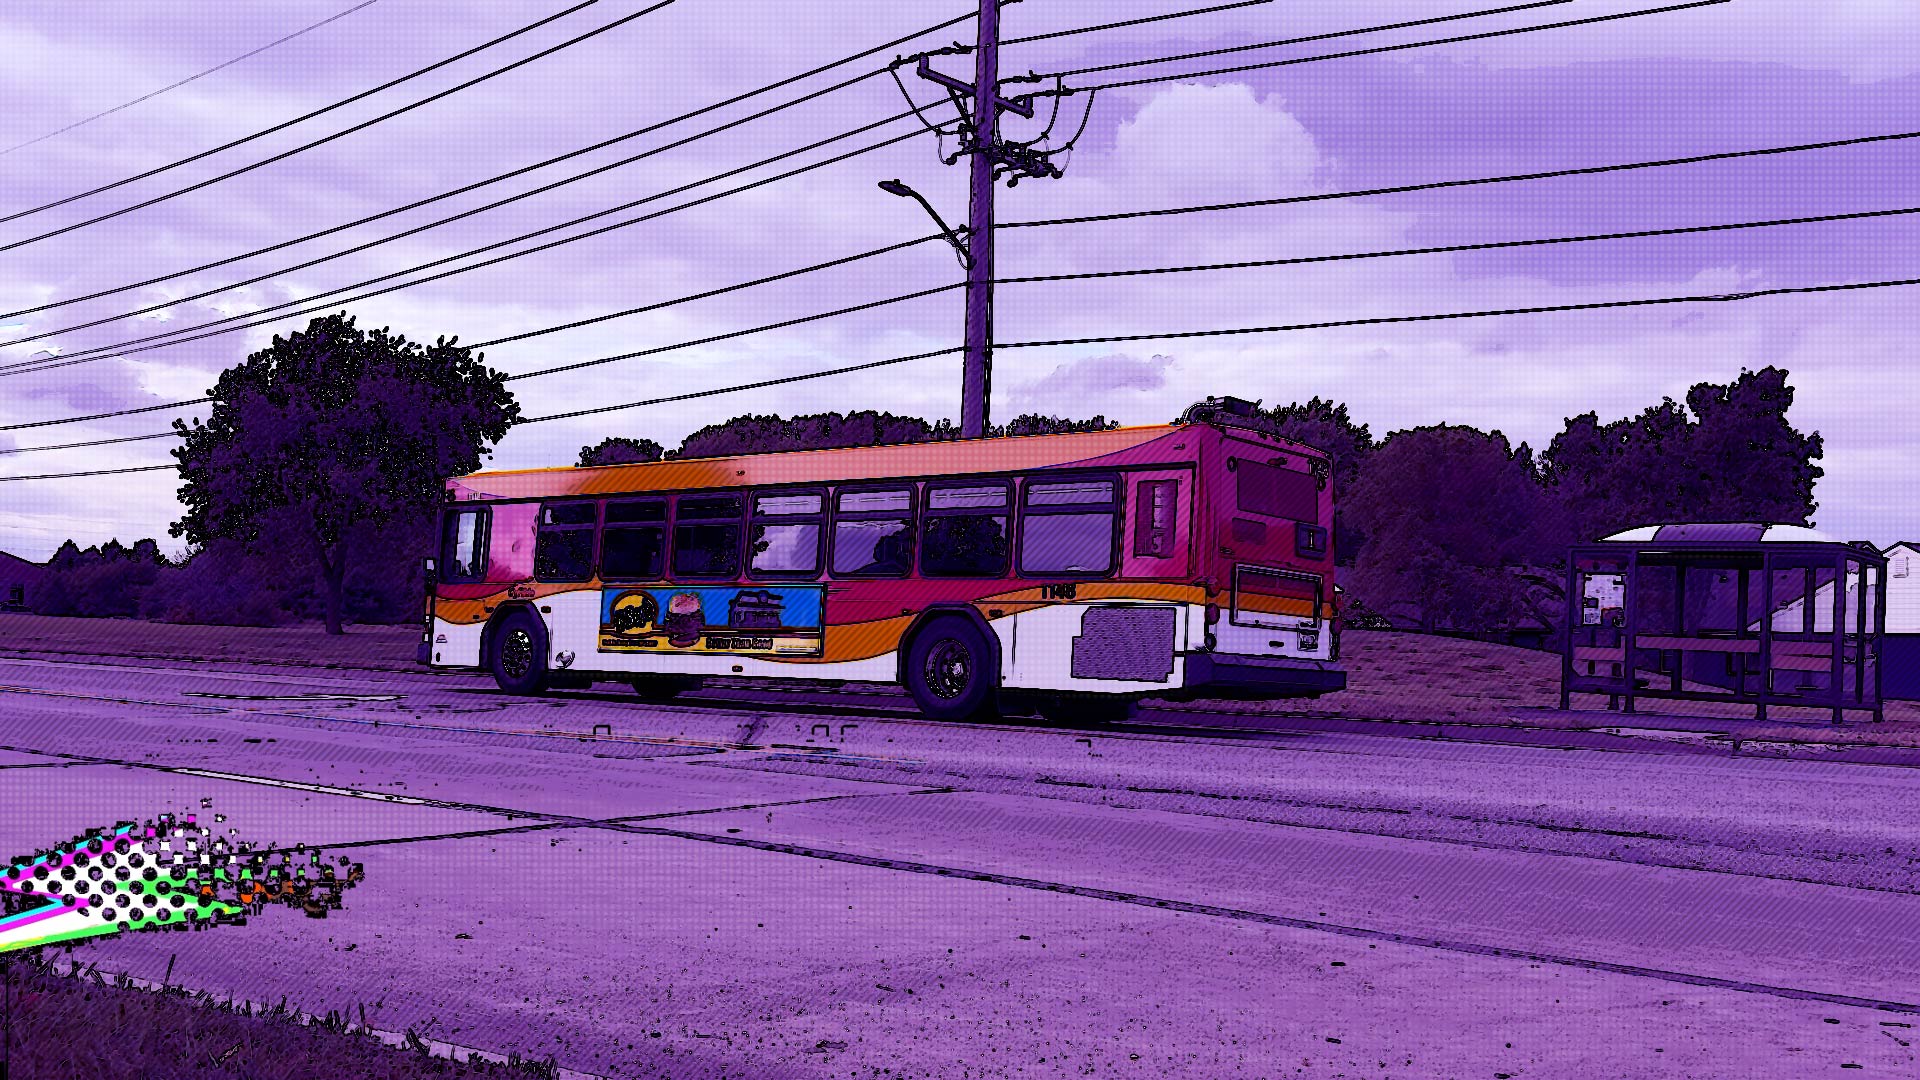
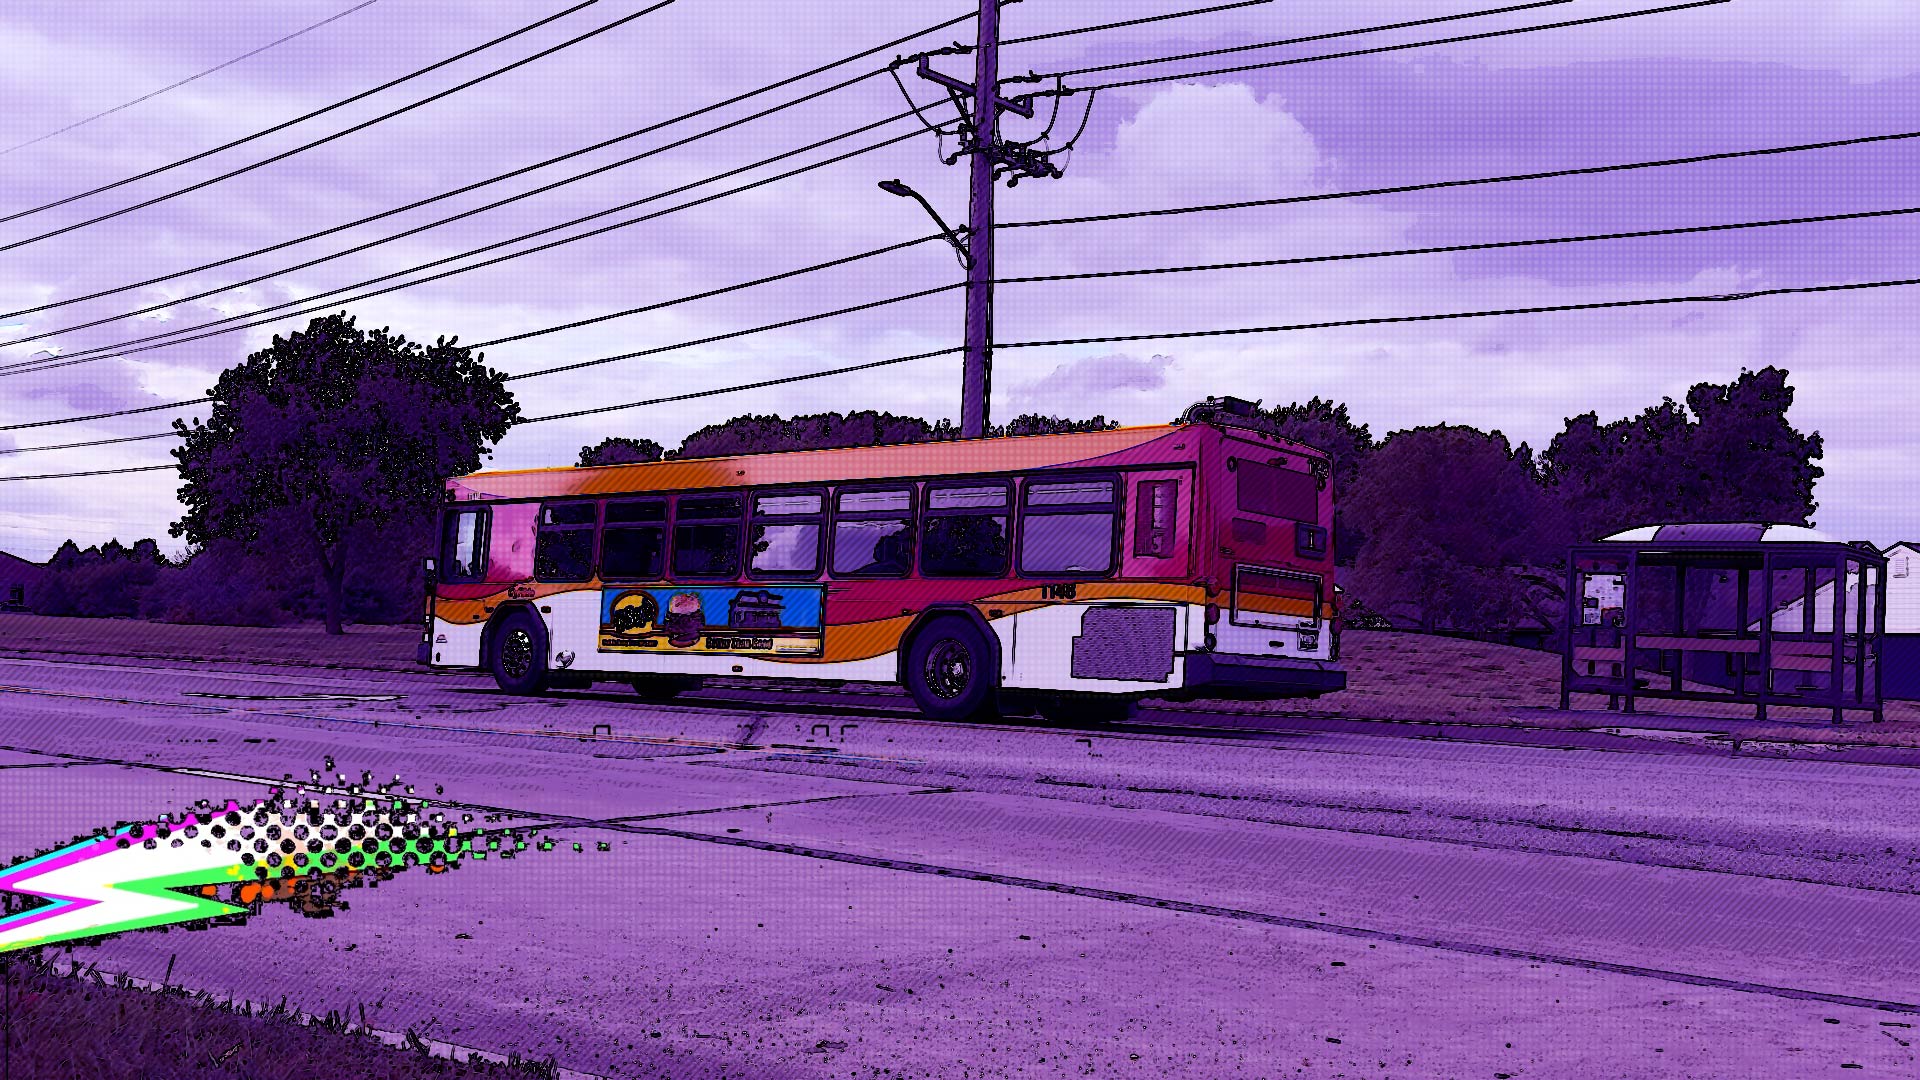
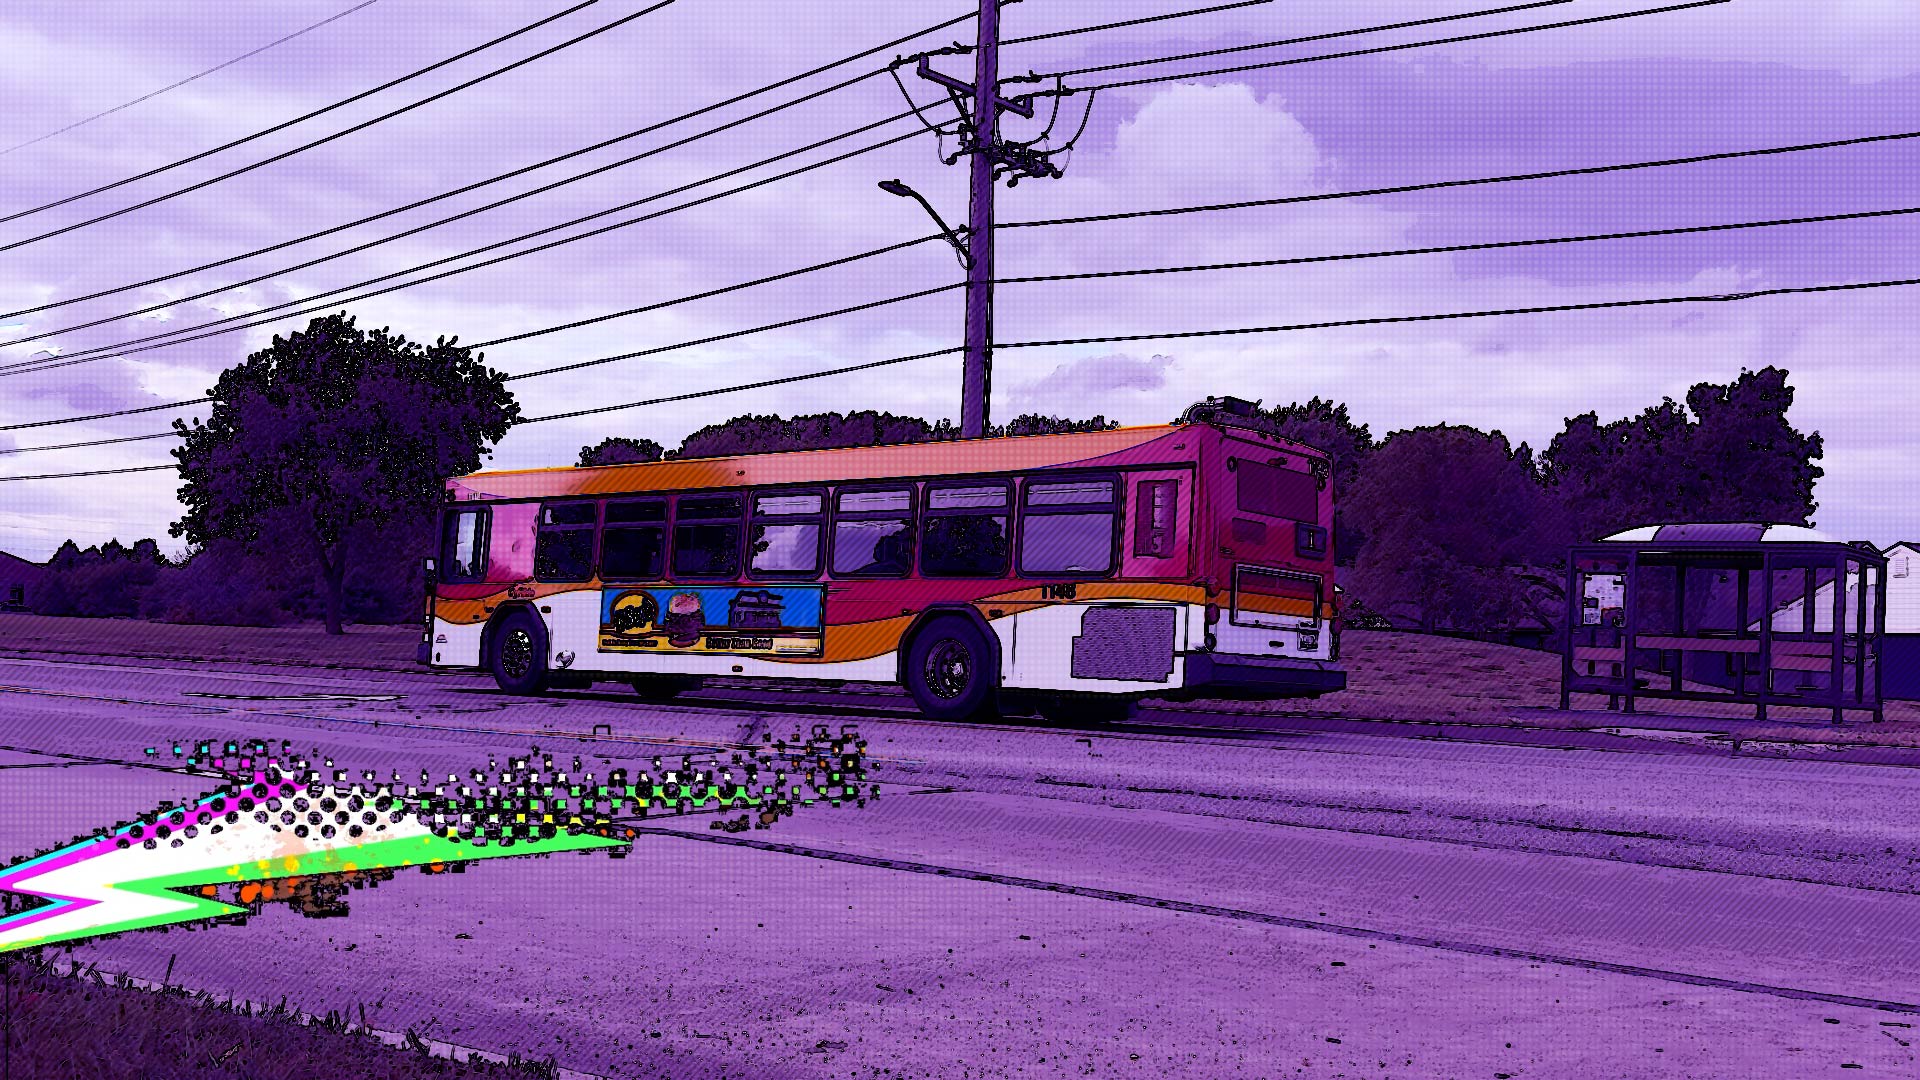
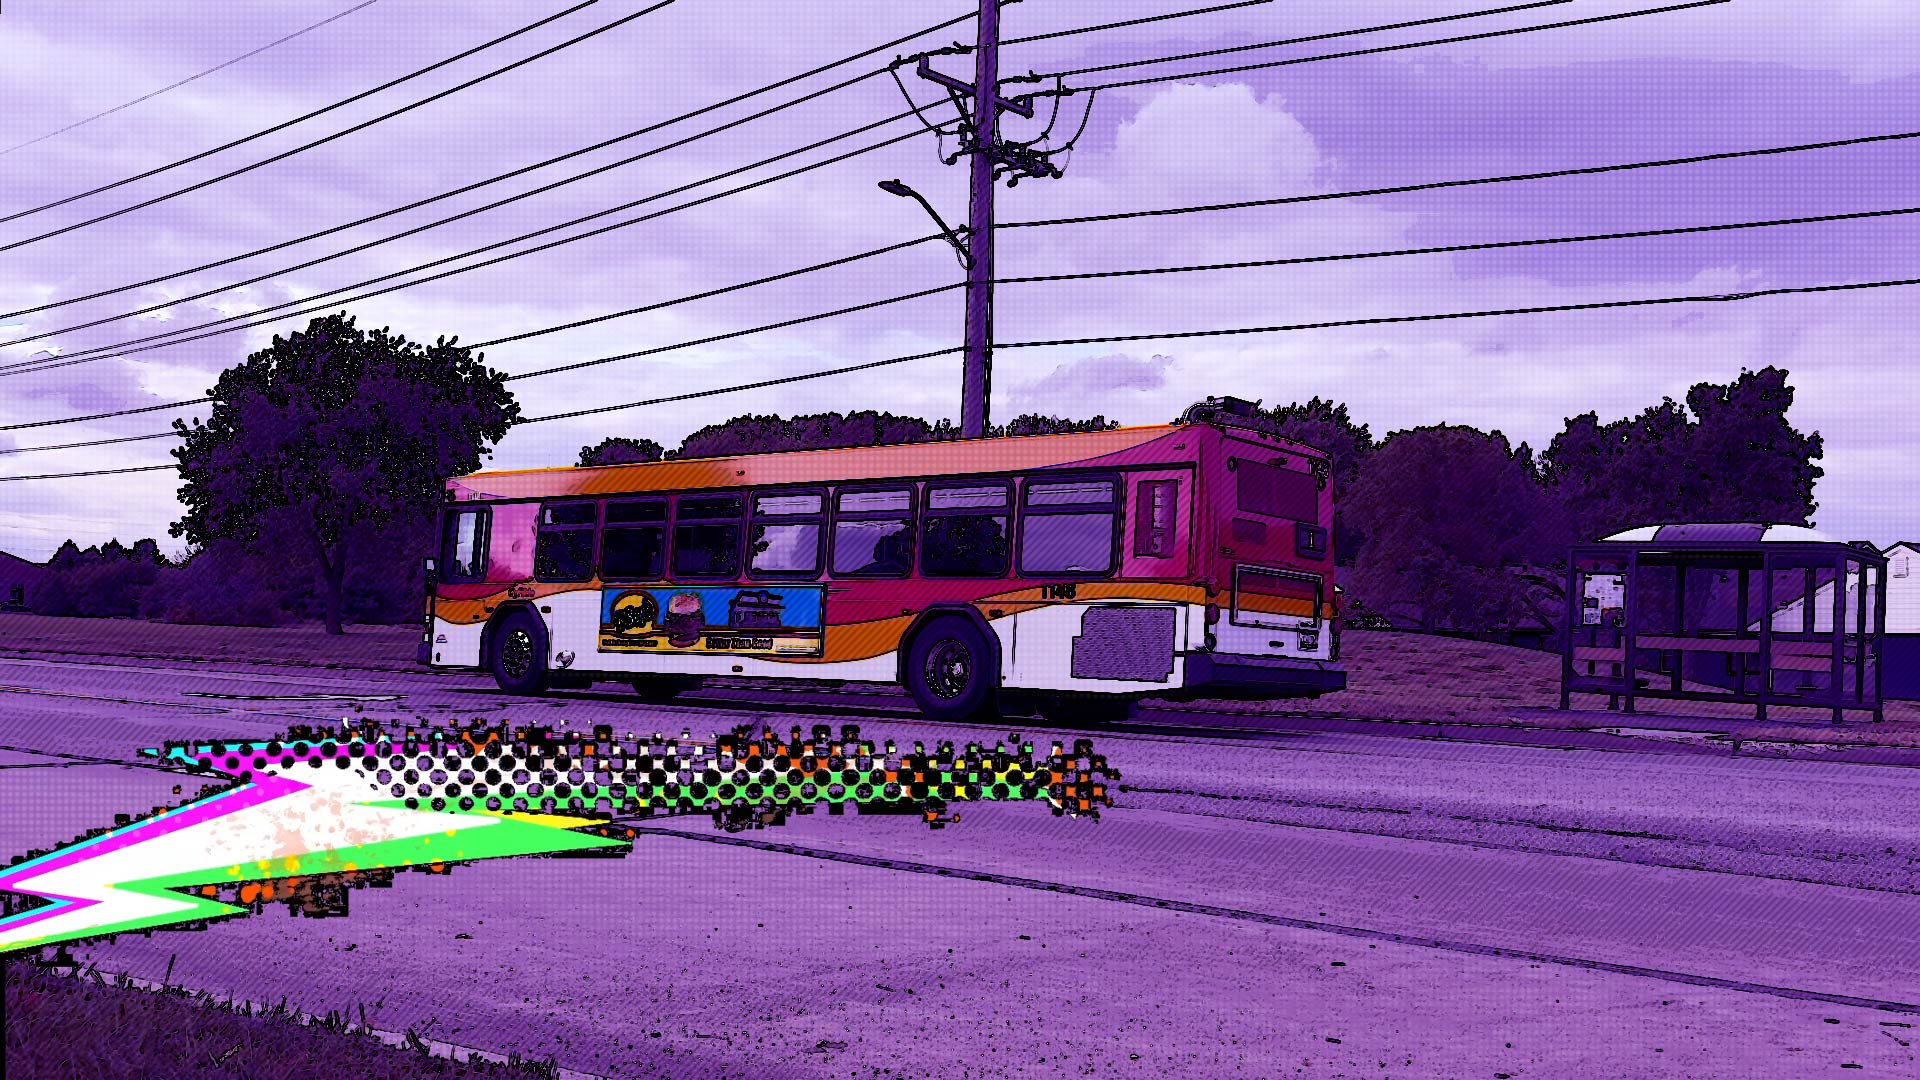
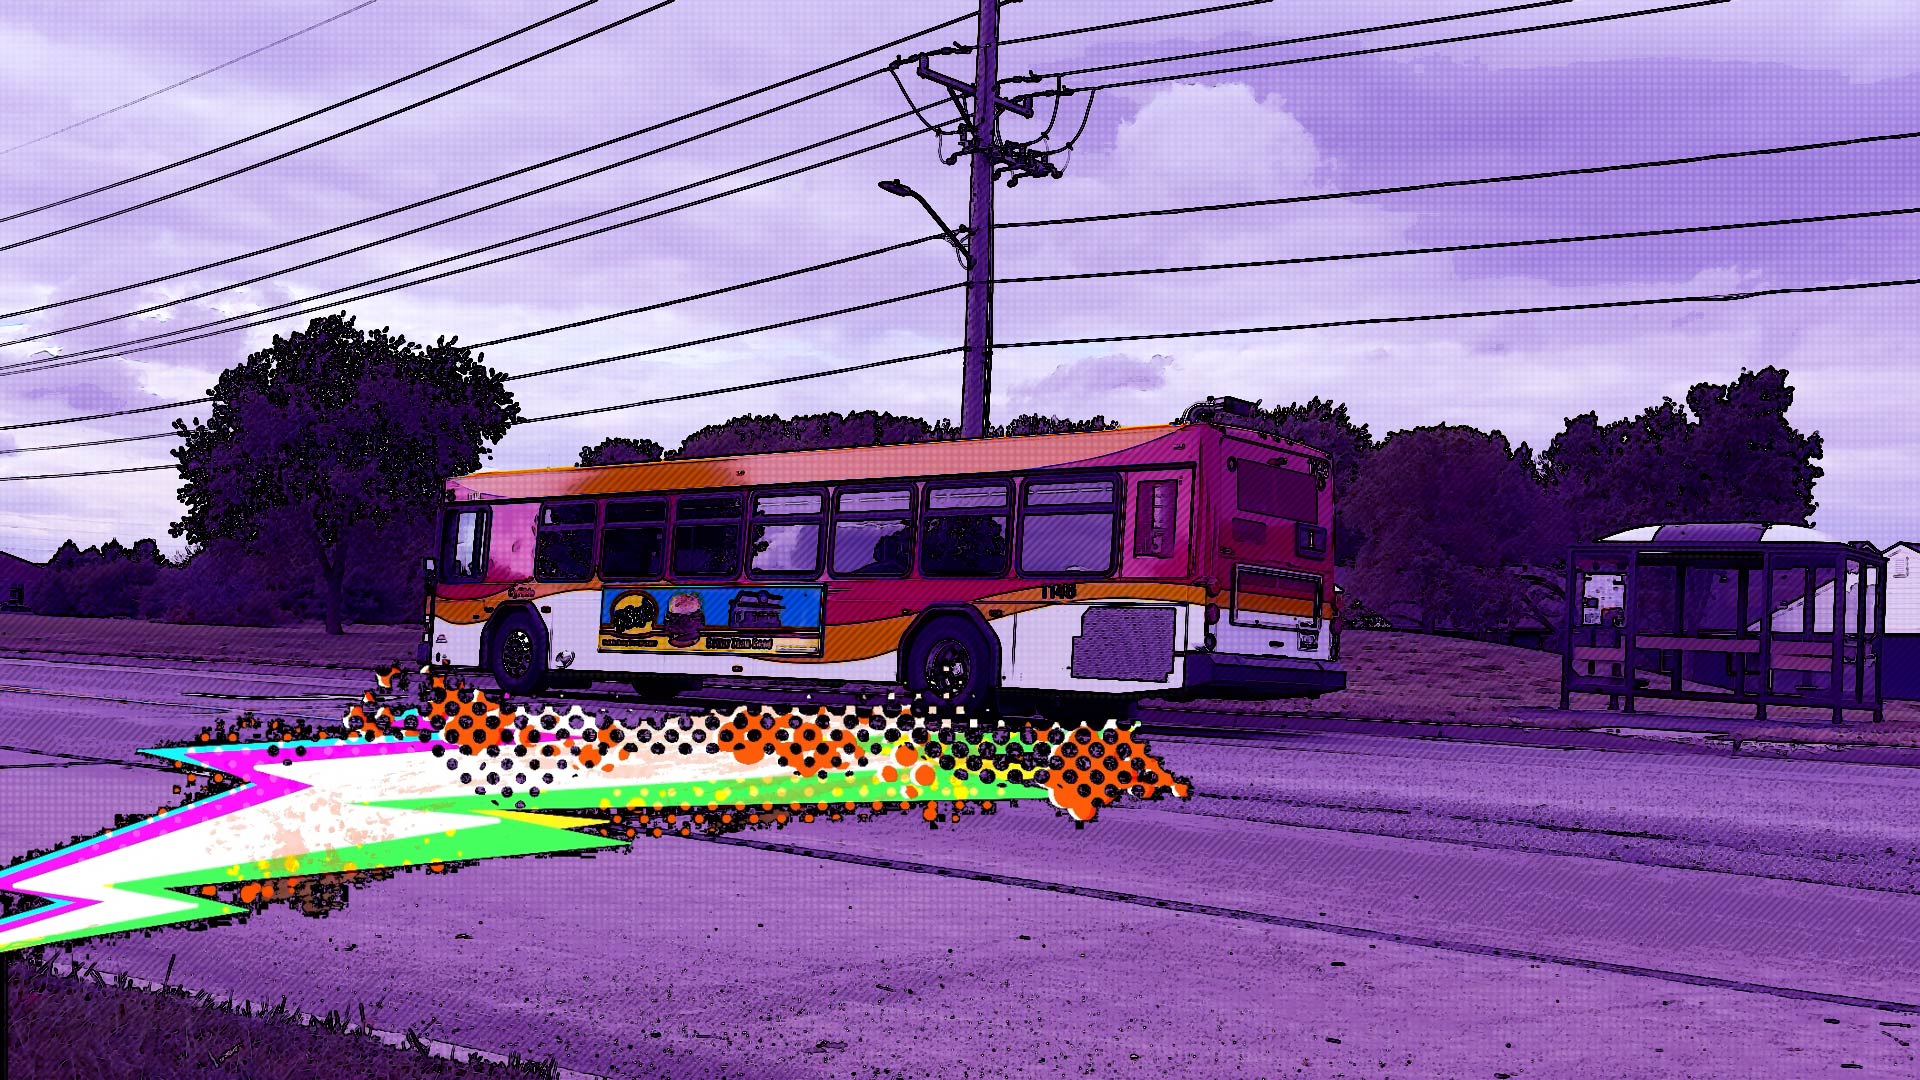
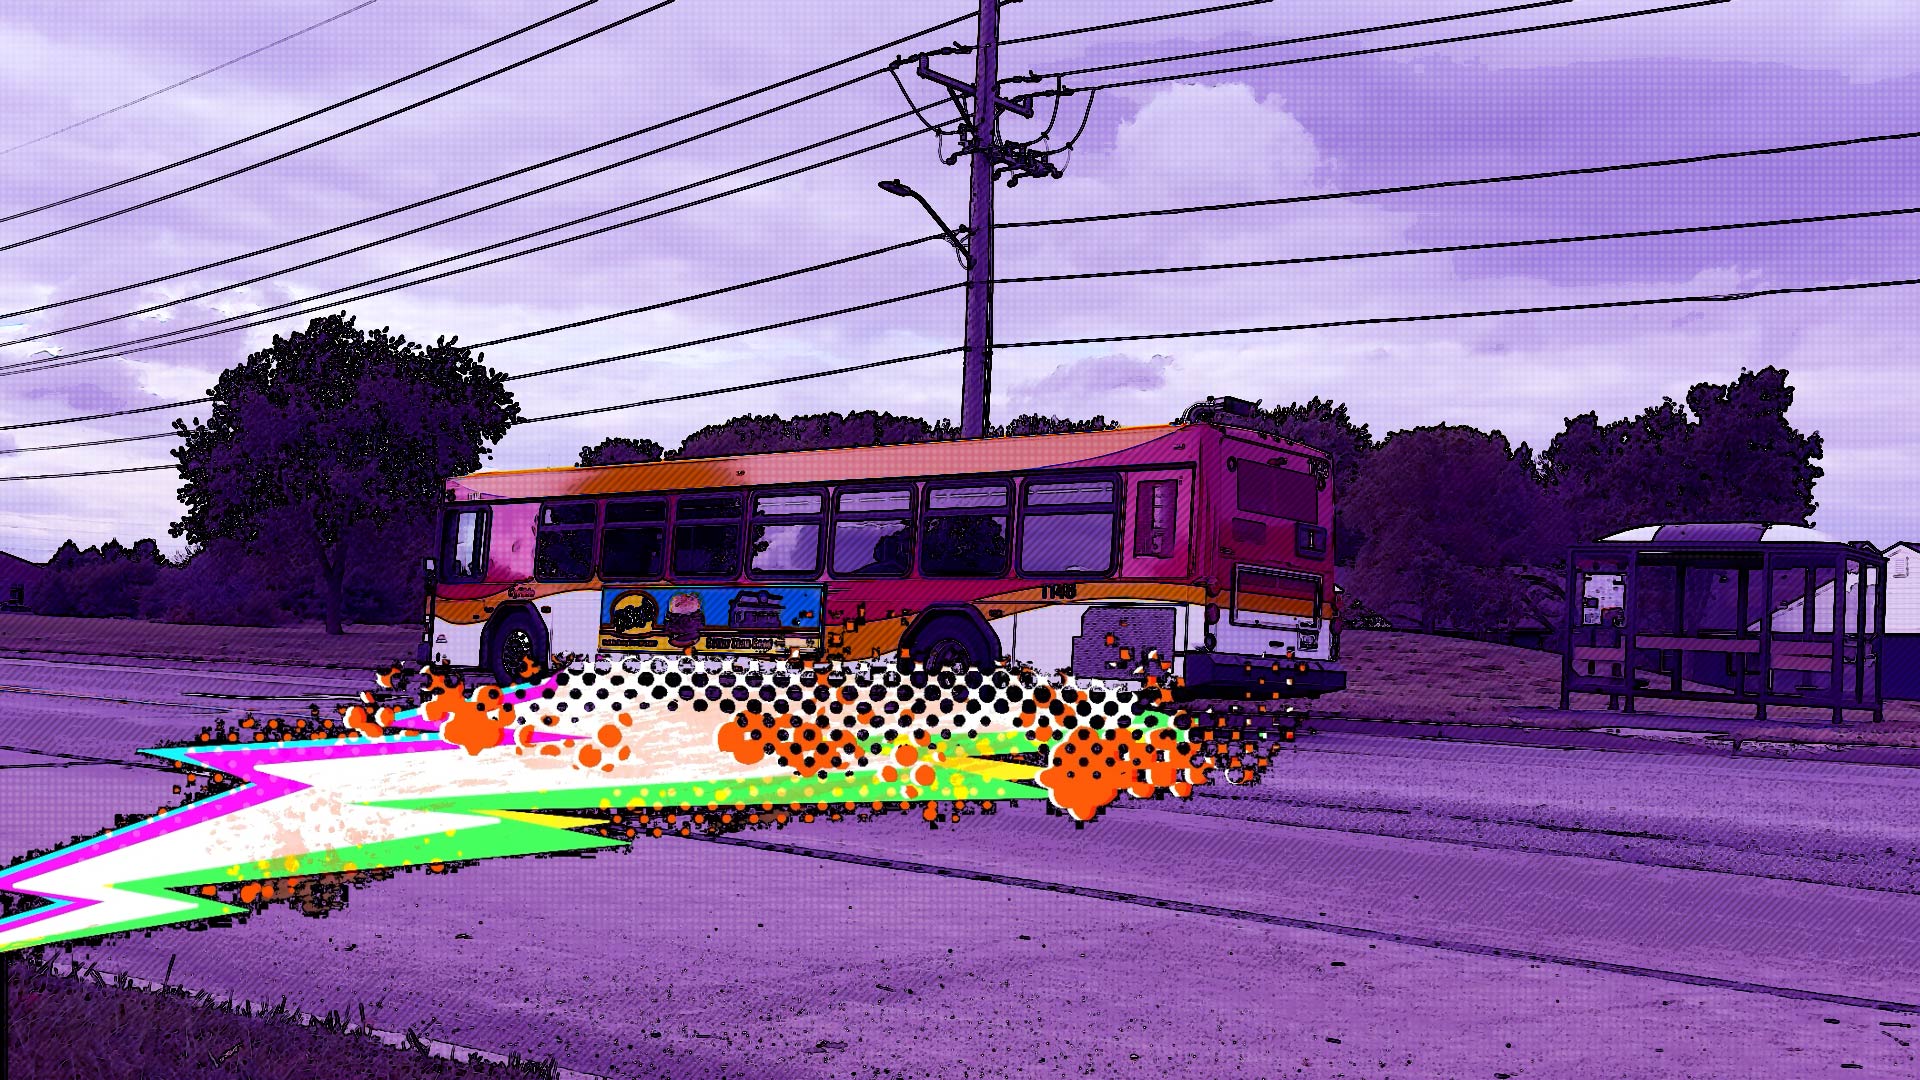
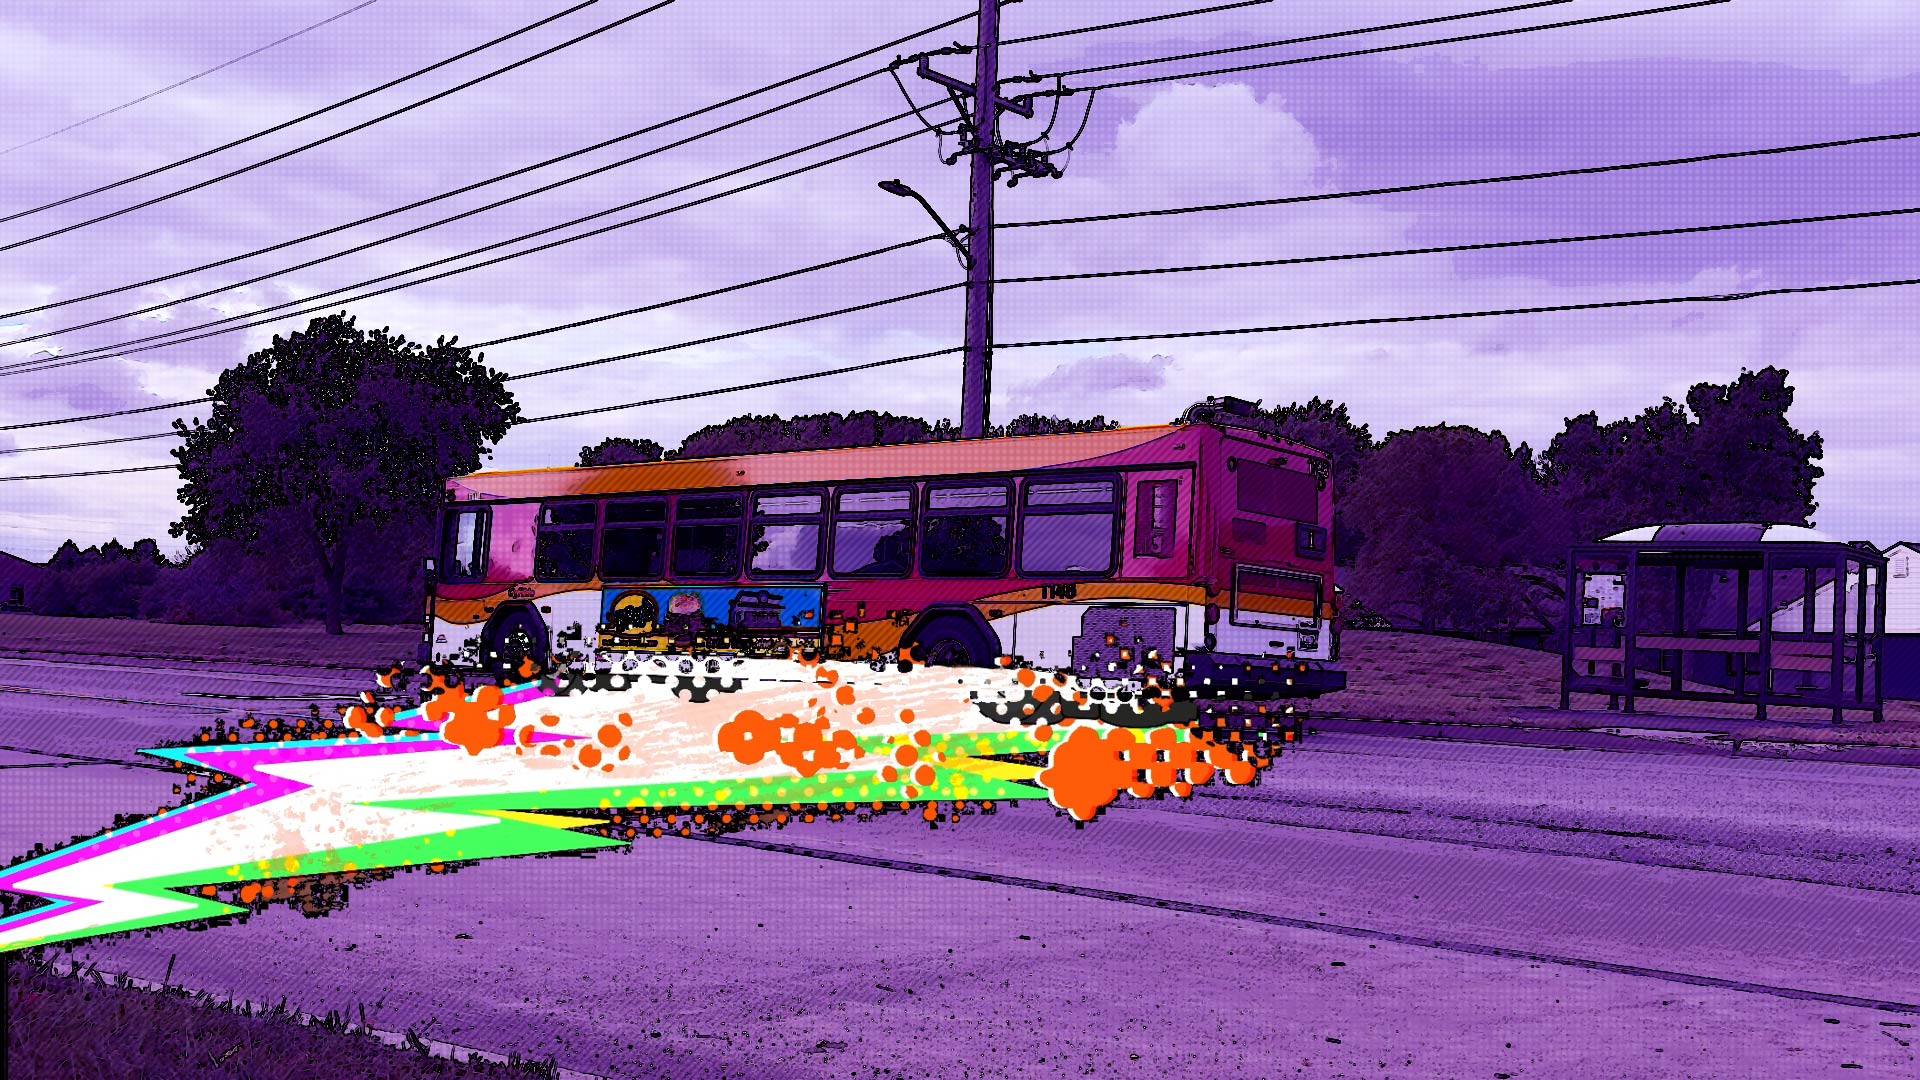
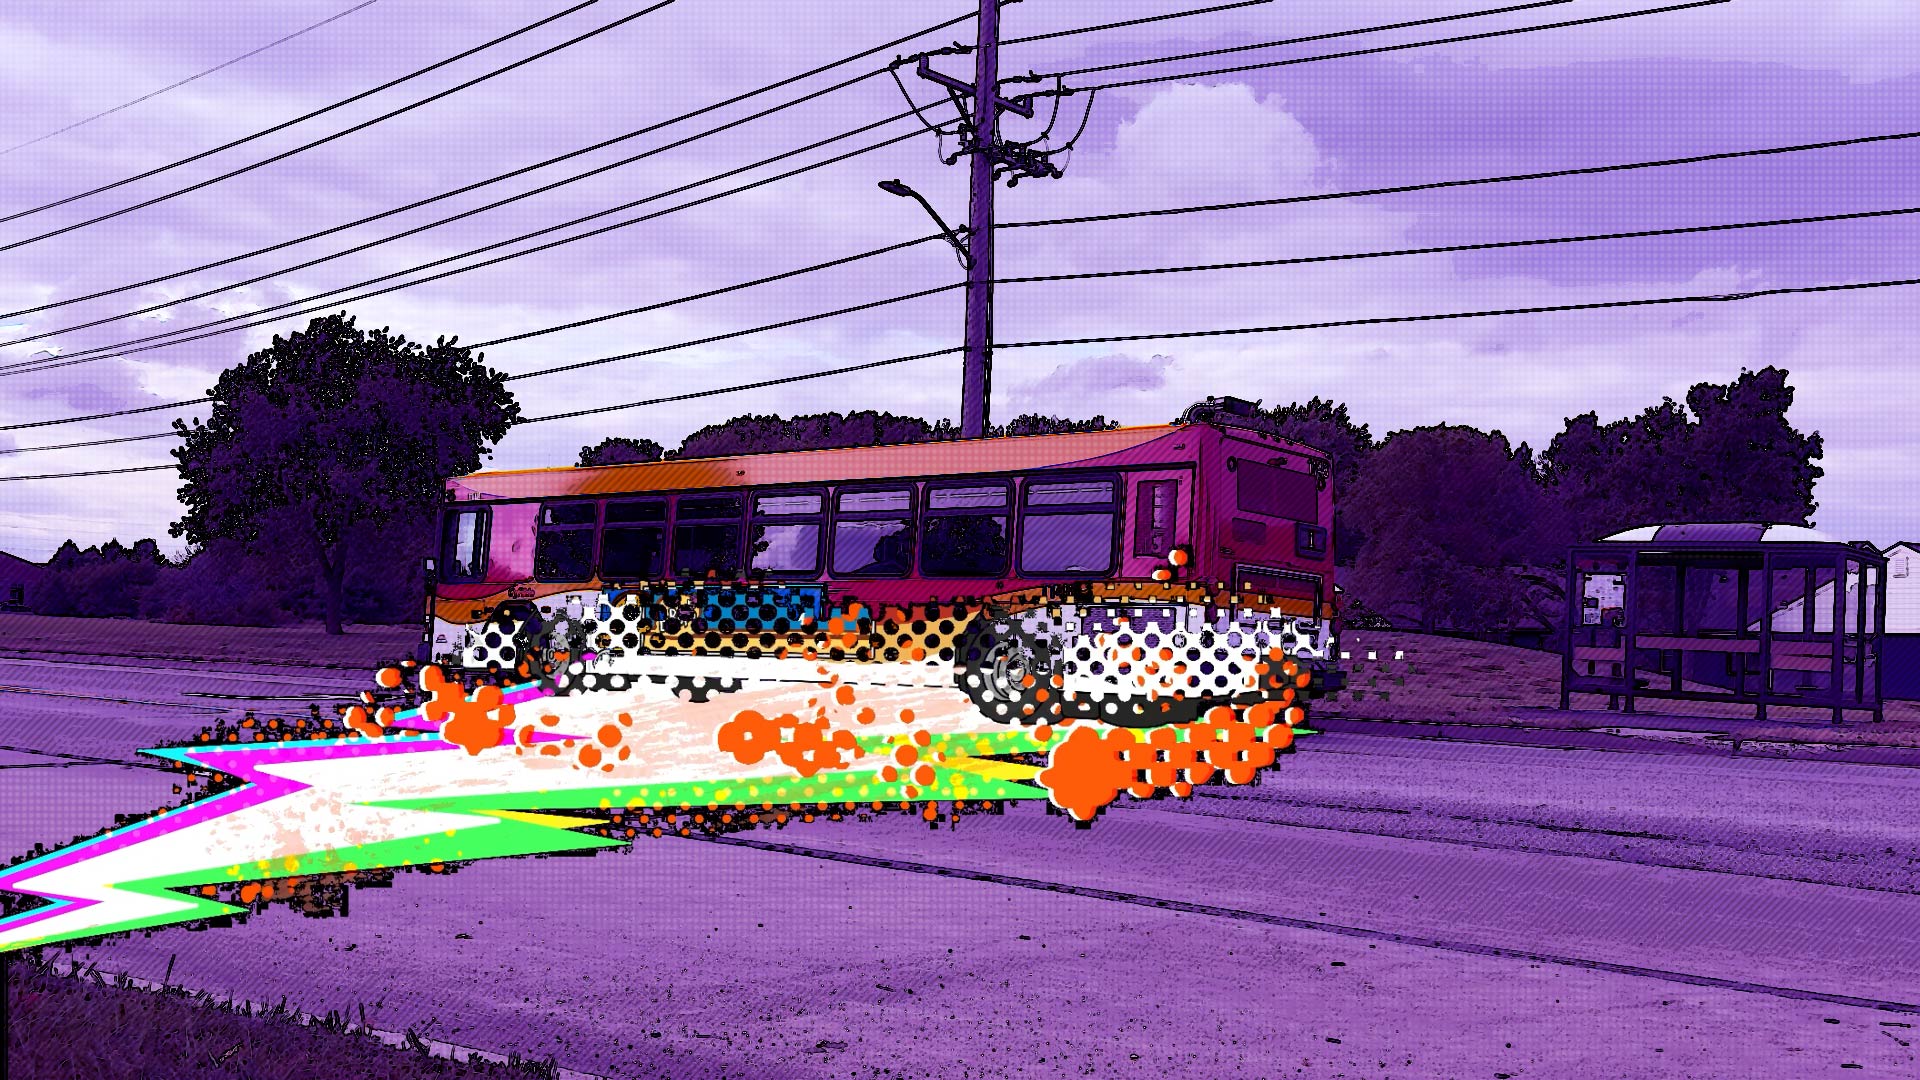
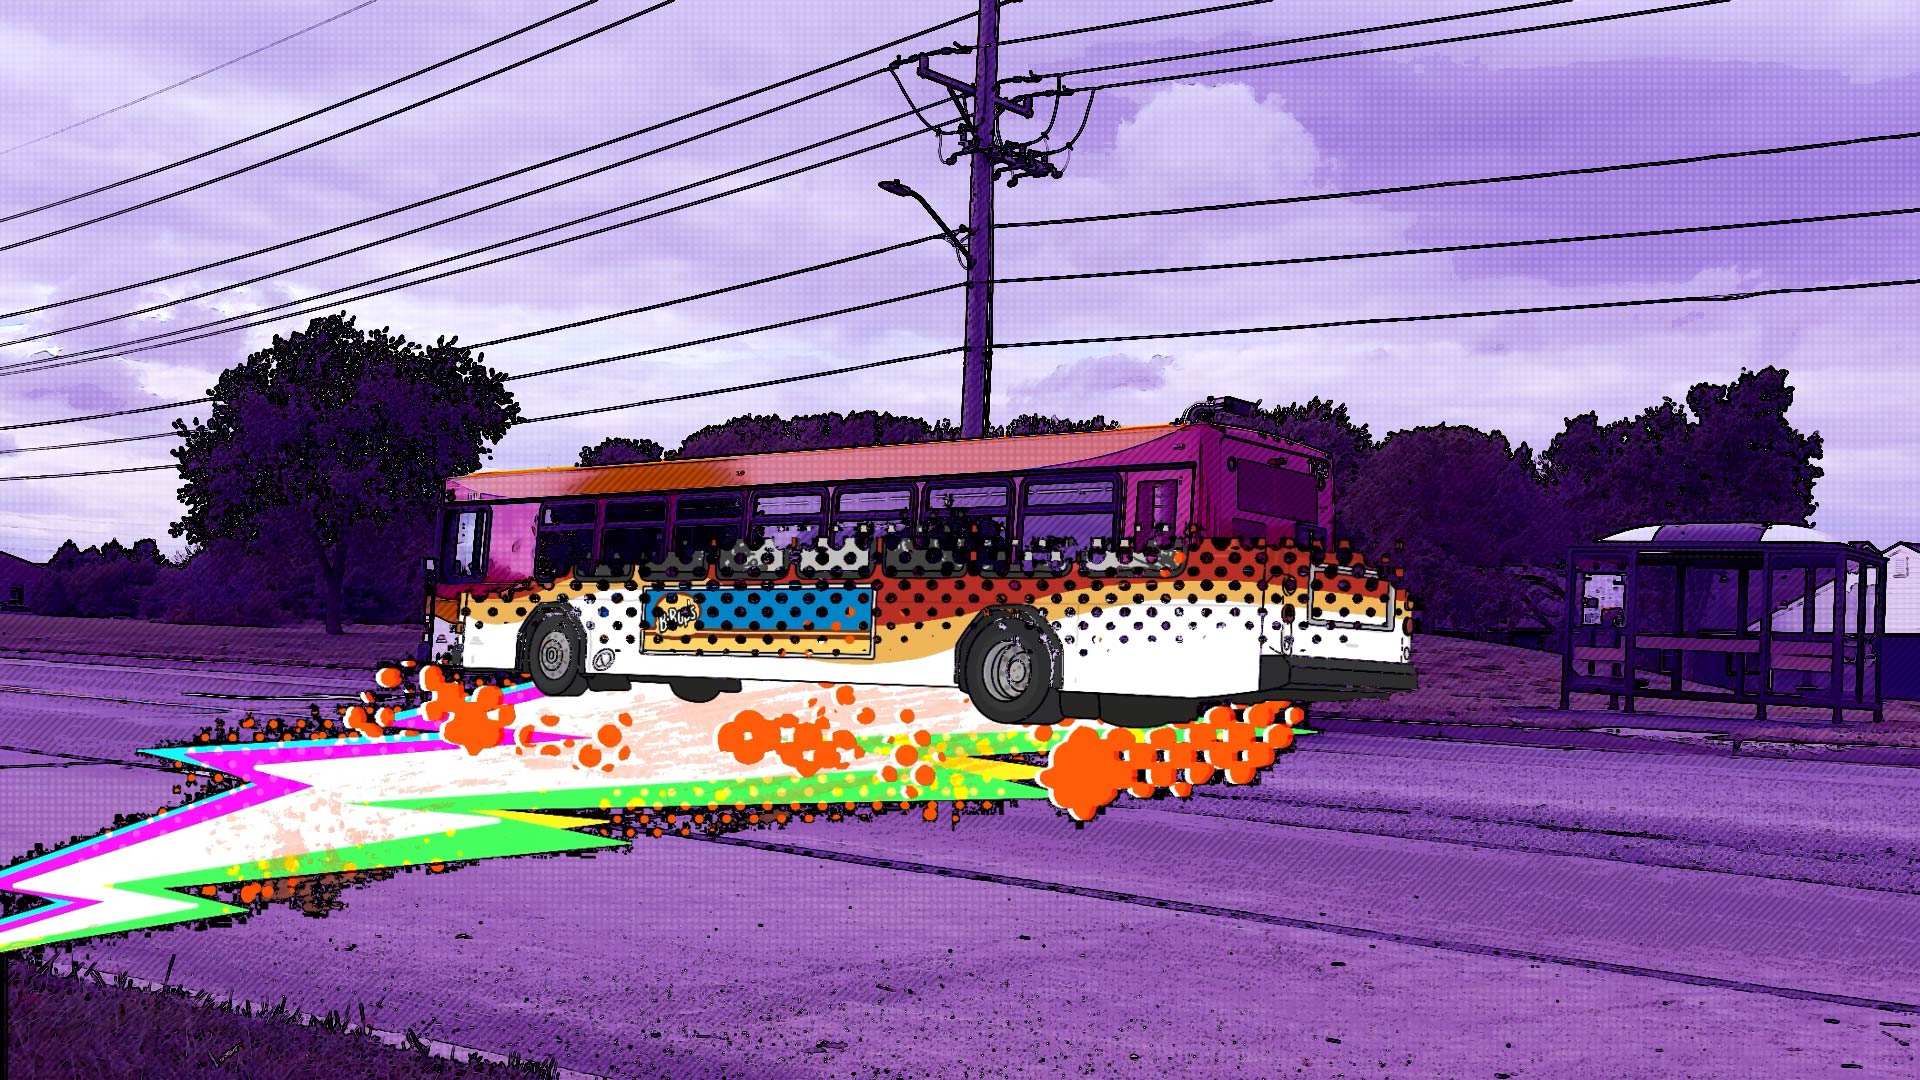
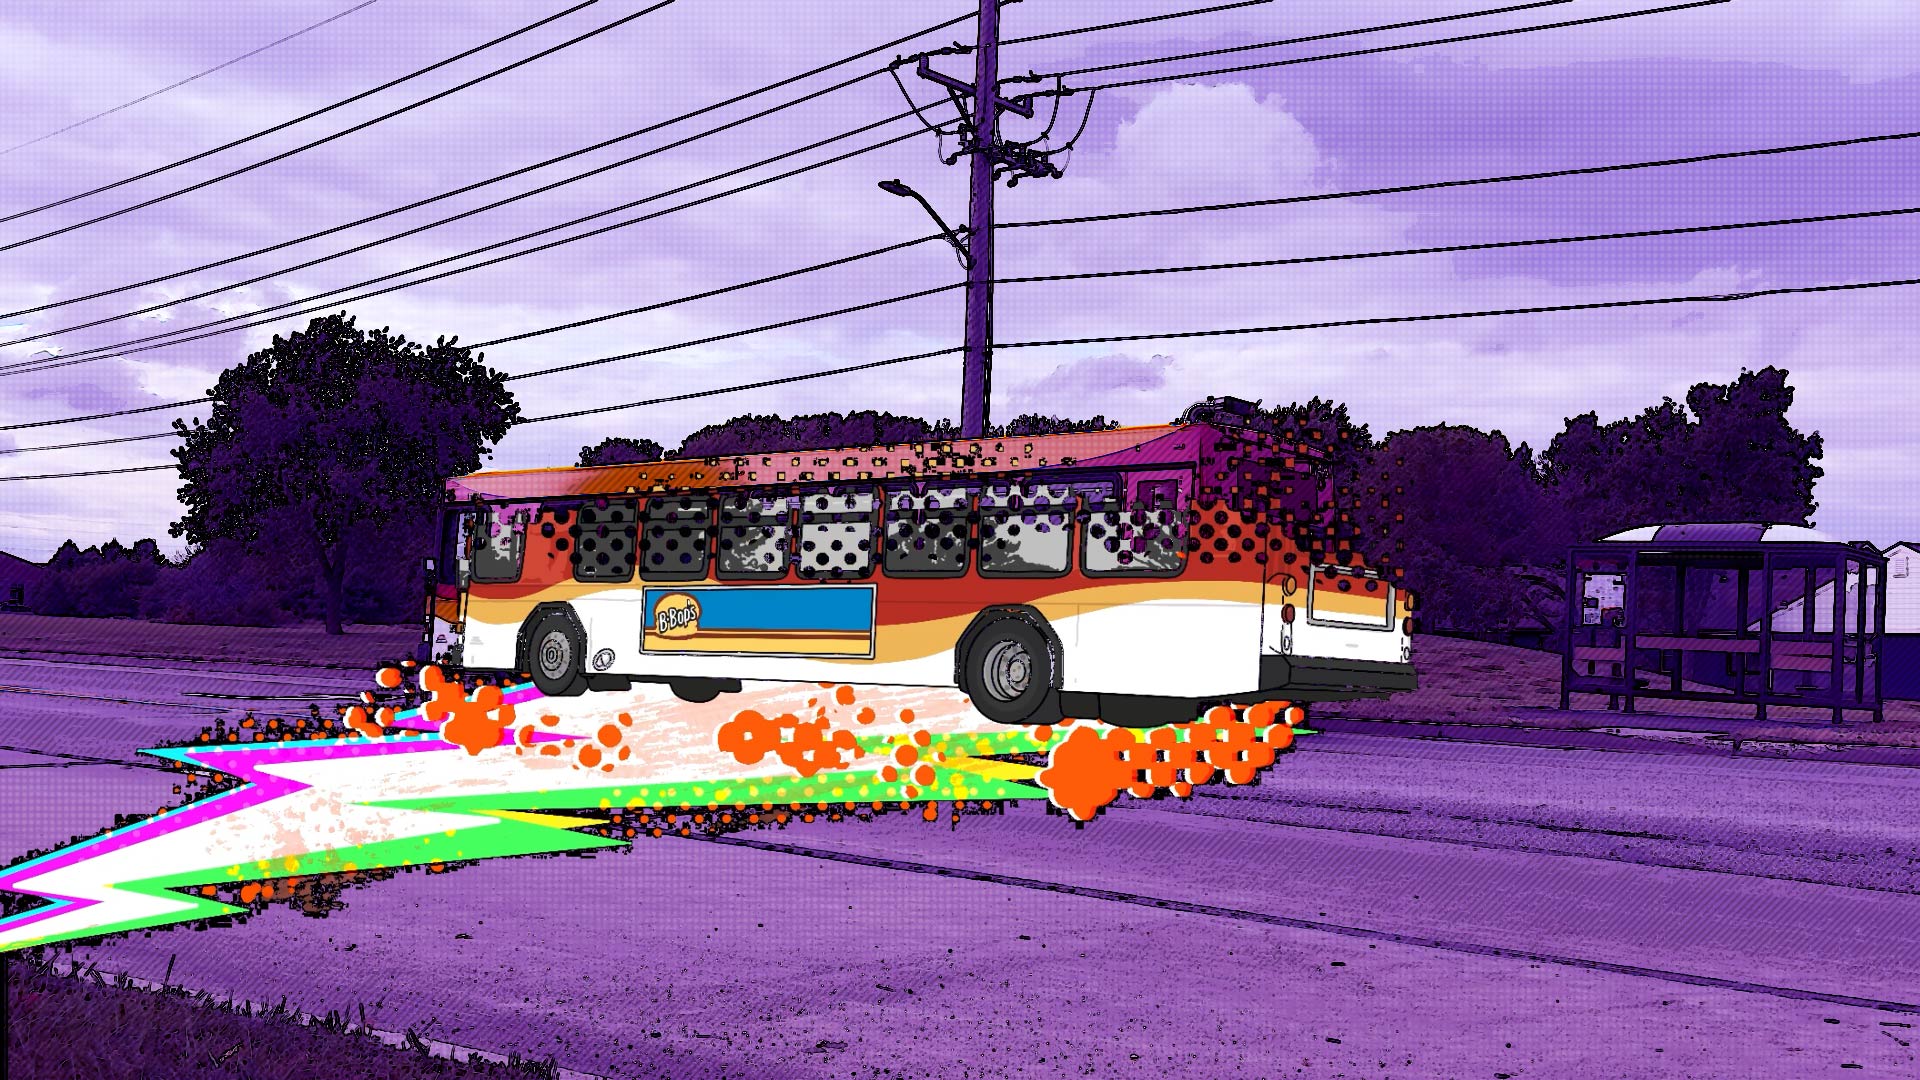
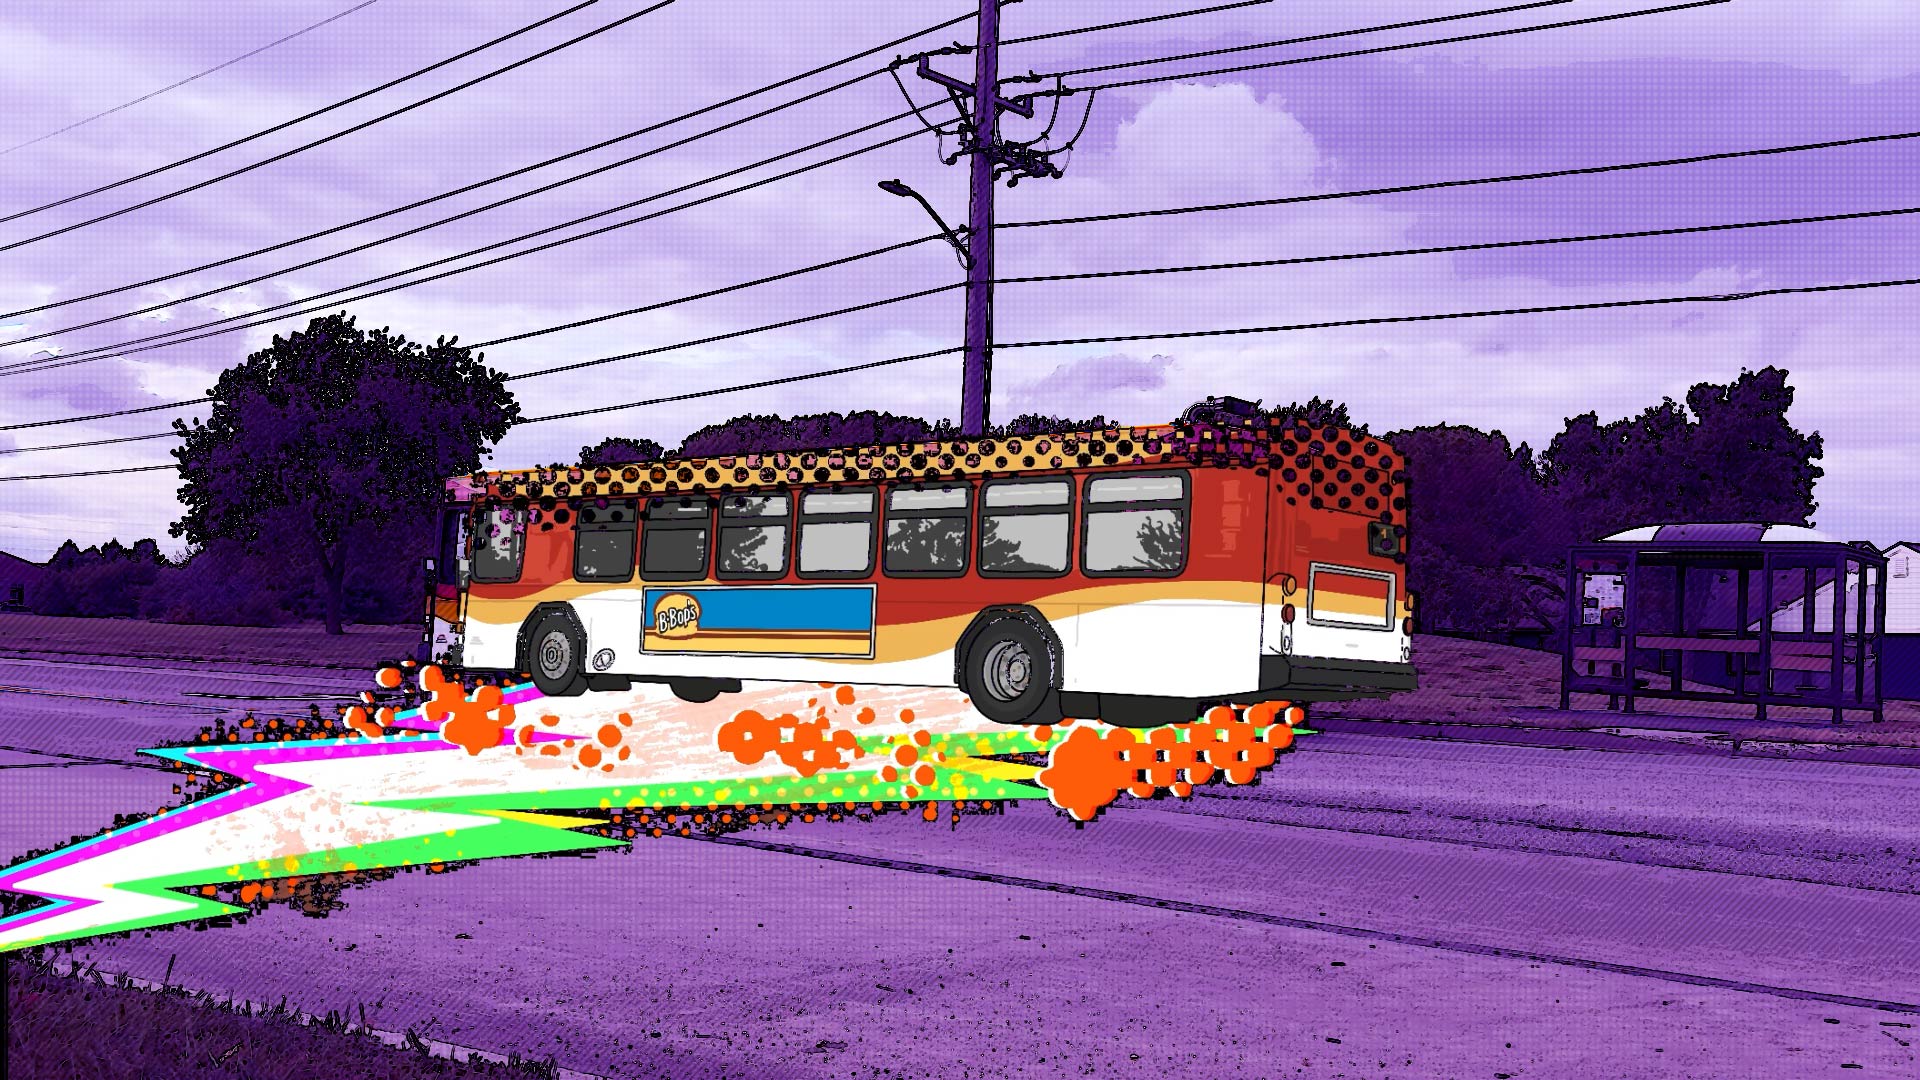
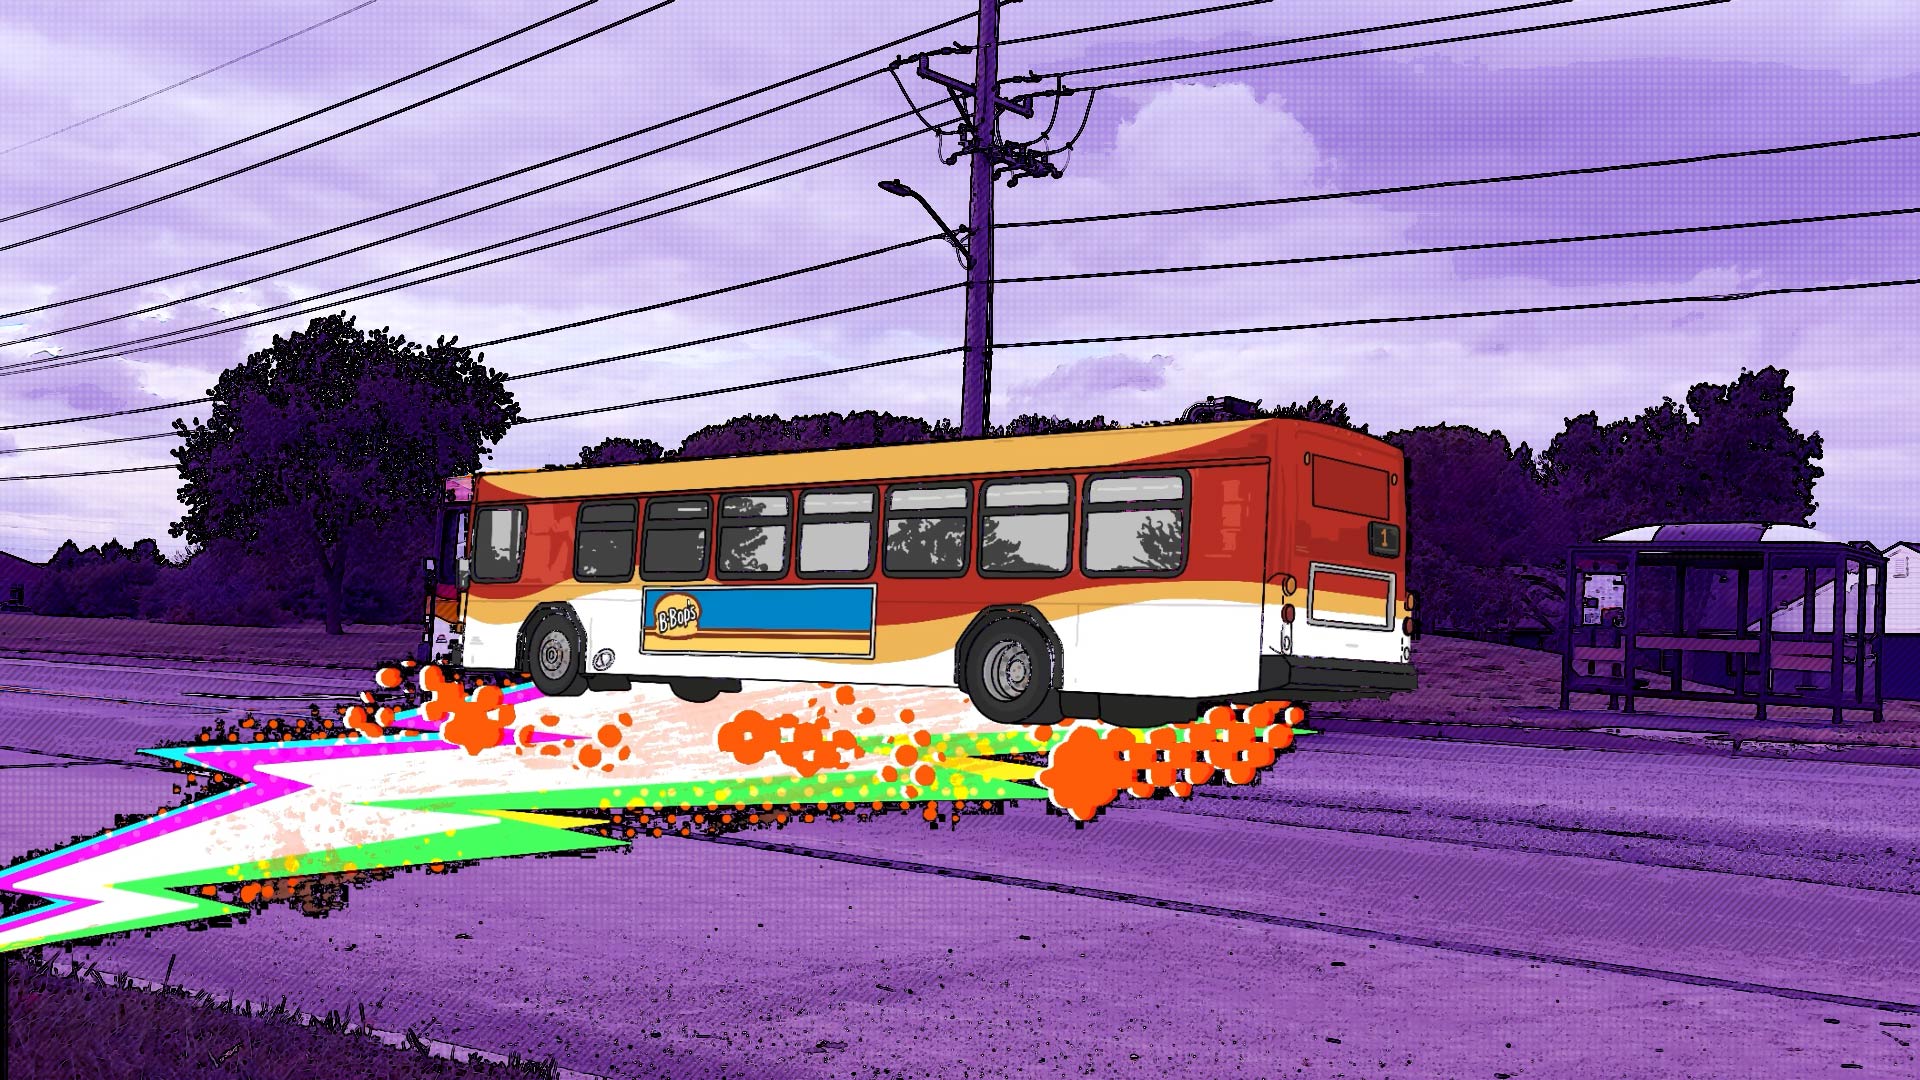
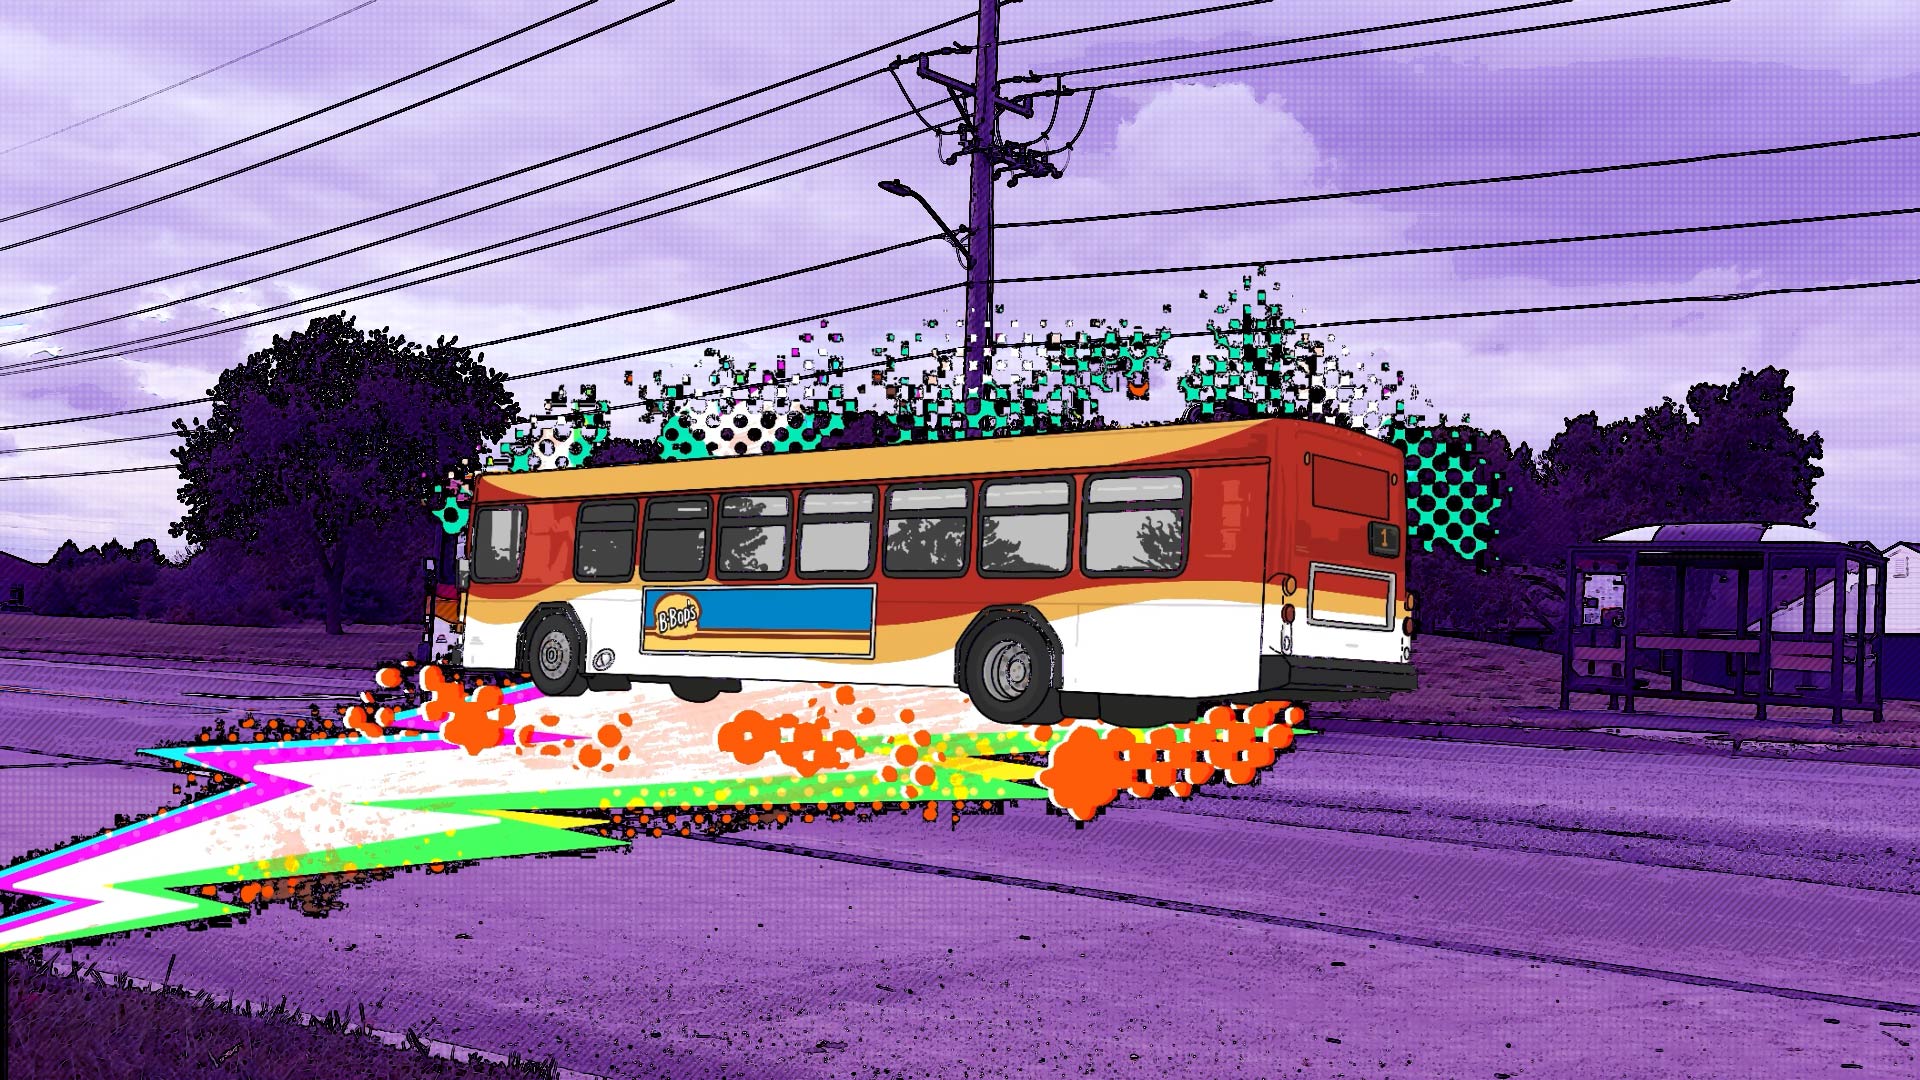
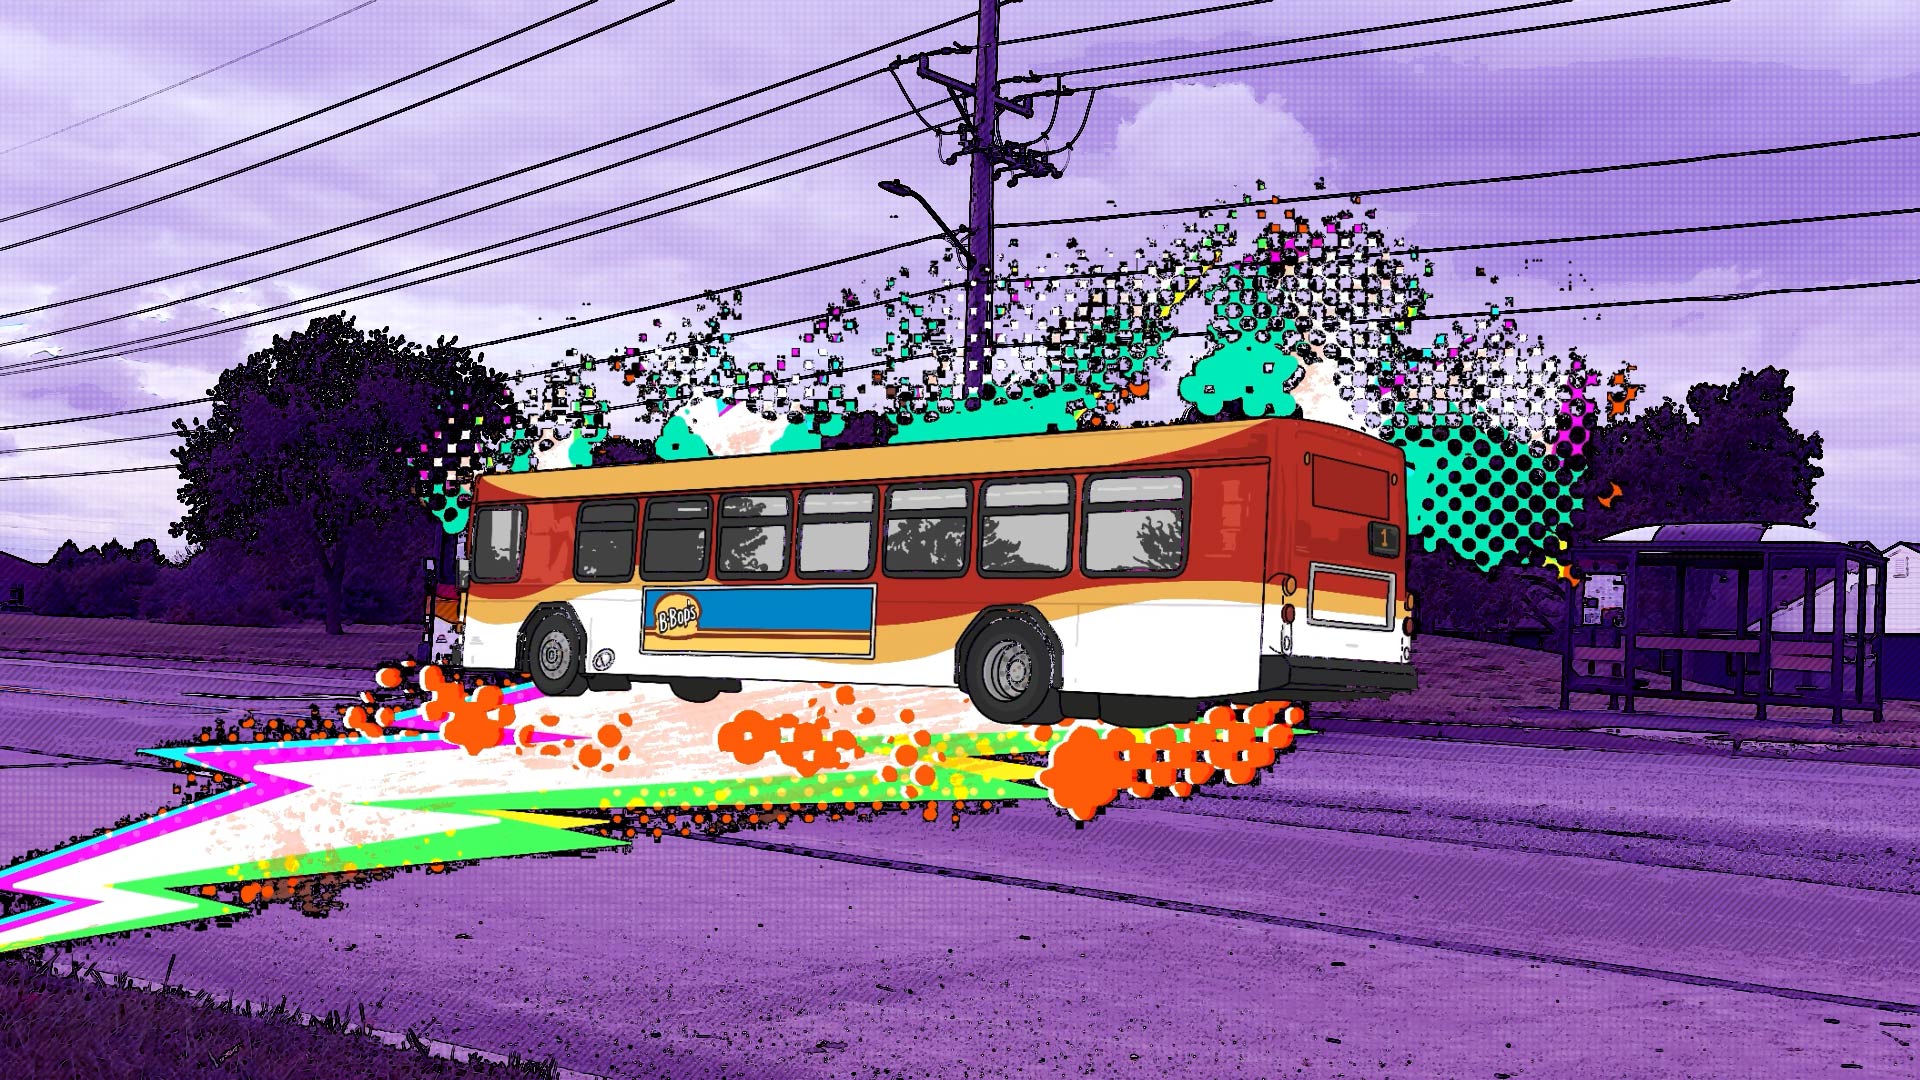
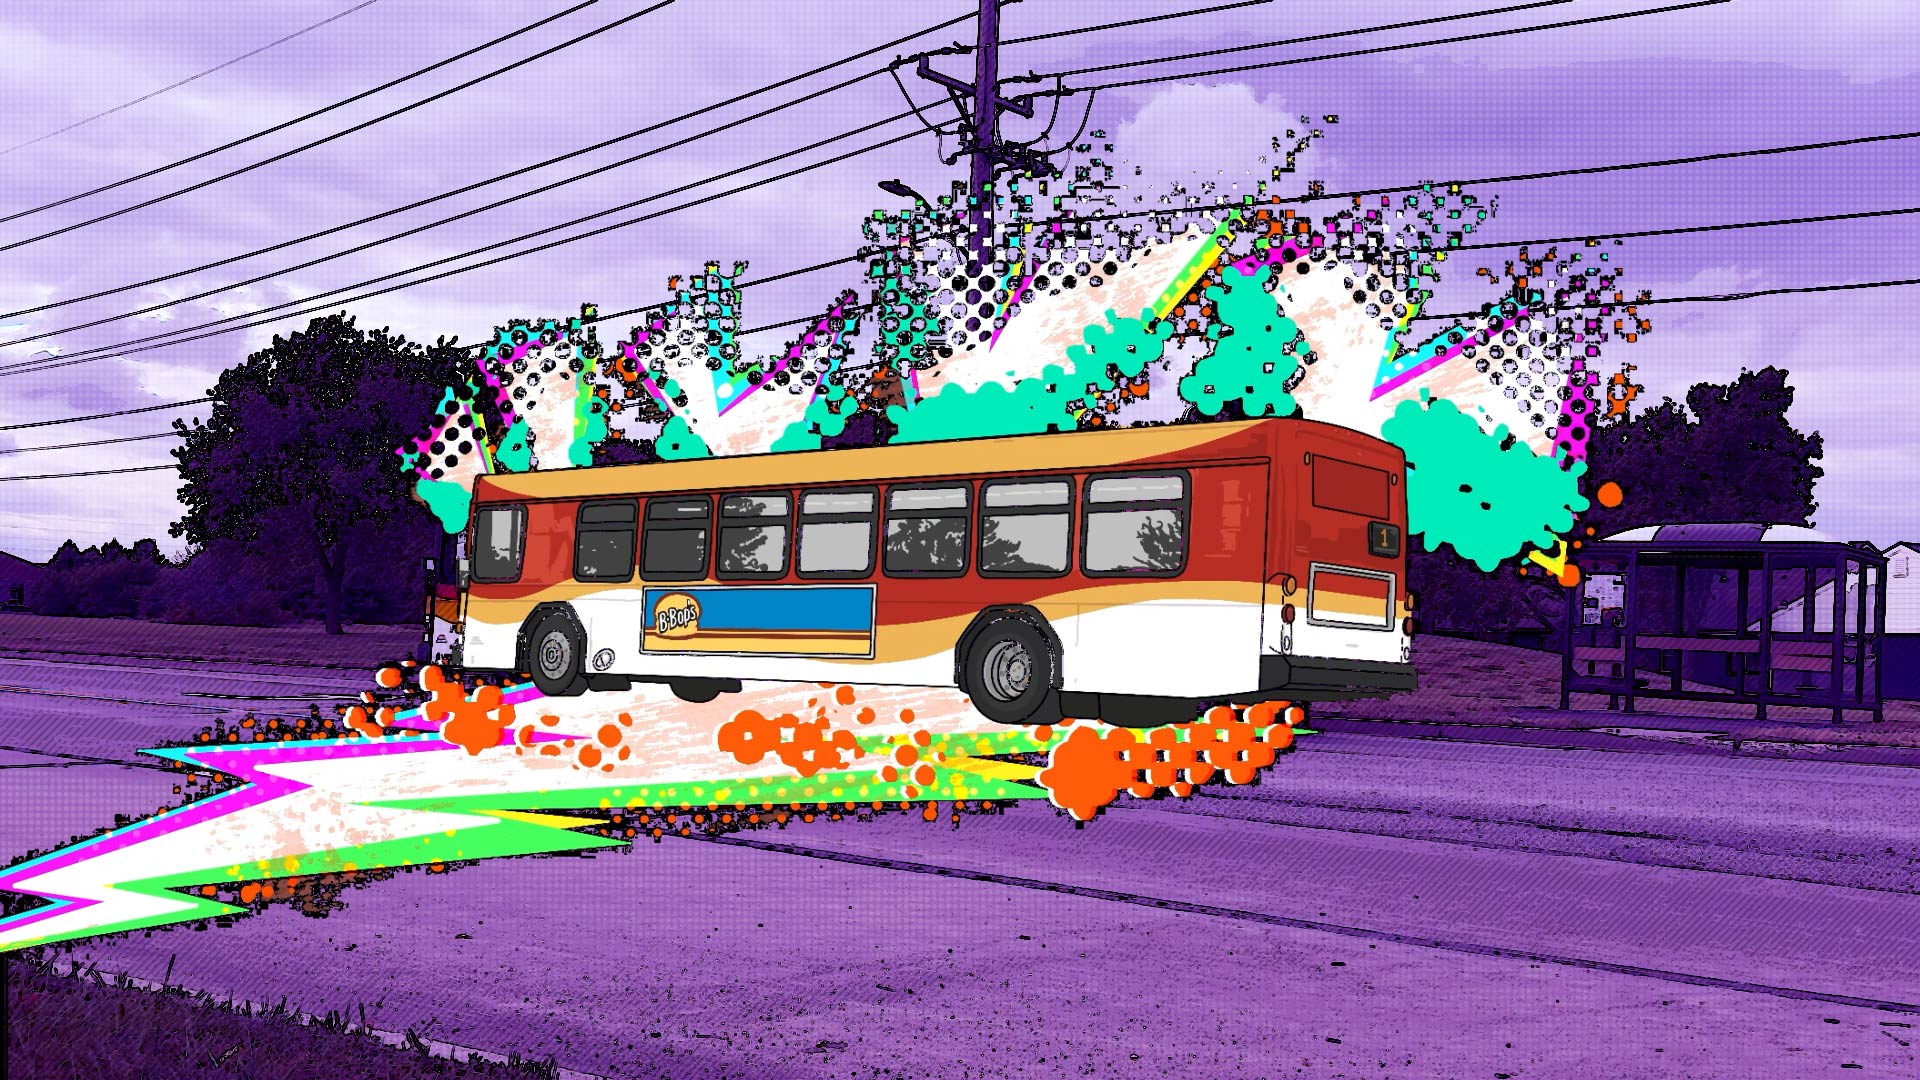
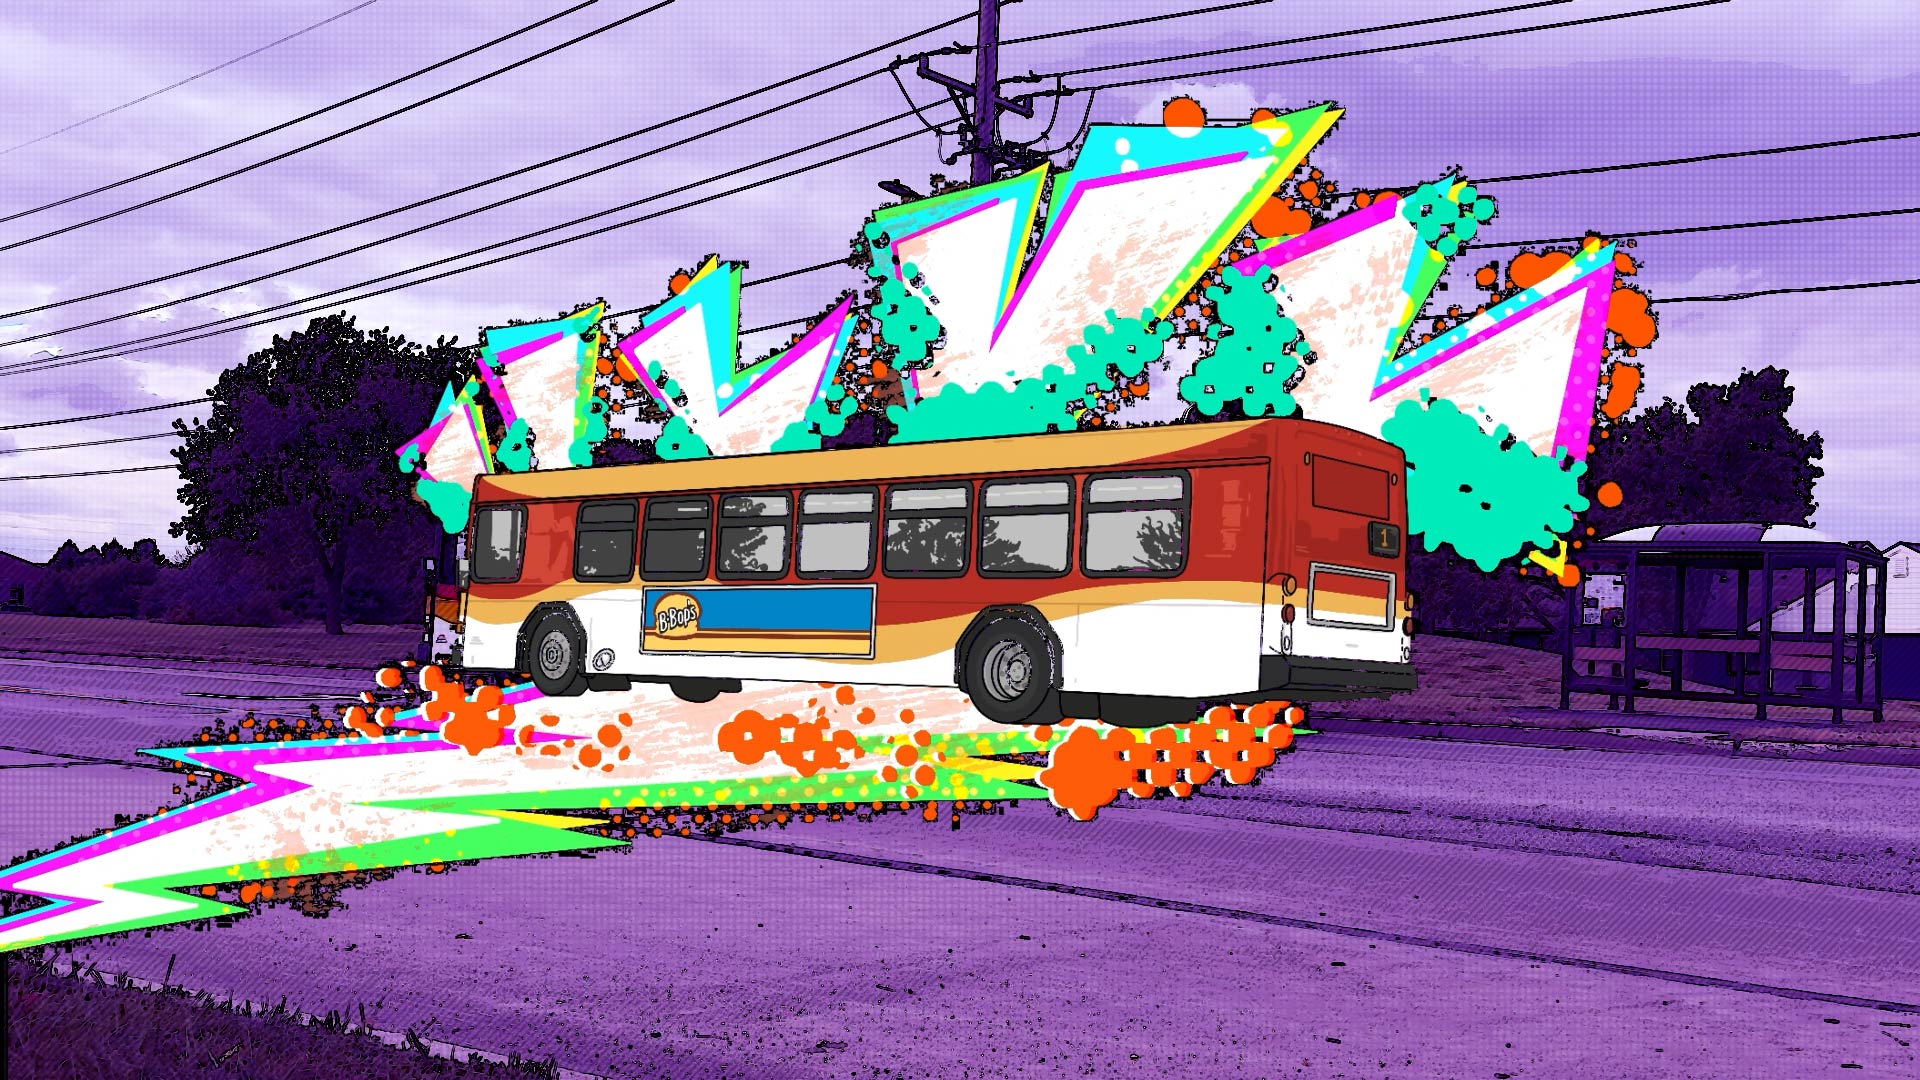
After getting my shots done comes the difficult part, i.e., putting them into a sequence, making them make sense, and incorporating external animations. I started out by watching a lot of tutorials on YouTube to polish my Adobe After Effects skills and learn some new things. I watched a 1video on how to make my footage look something like the Spiderverse movies, since that’s one of my main inspirations. Other than that, I did watch a few text animation 2videos, and some 3other extra things to figure out things along the way as the process kept going. The first post-production thing I did was to make all my footage into 12 frames per second to make it look choppy and add more human error and organic feel to it (as if it were all a moving comic book). I color graded all the scenes first, and gave them a dark purple tone to emphasize darkness and solitude, as it is in some of my artworks, and it also helps bring out the comic art style look of the footage even more. I applied some vintage print textures by adjusting the thresholds of the footage and applying various layer styles and messing with the properties until I got everything right. After making each clip look cohesive, I started incorporating external animations. I decided I am going to use text in some scenes to emphasize a point or as a supporting visual element. The frames from one of the frame-by-frame external animations are attached below for a visual reference.

Step 5: Finishing Touches
The next step, which I will be working on before submitting the project, is incorporating a little sound here and there, and then adding starting and ending screens, polishing up some last-minute tweaks and fixes as there often are, and this small little quickly done masterpiece would be ready to be released in class on Monday!
Prospects:
As I was thinking of this project, like any other projects I have done in the past two semesters, I was wondering if there are ways I can incorporate this directly into my thesis. So far, I am happy with the potential prospects I have for this project. It can be used as a trailer of sorts. I am also planning on using some still frames and some shots to emphasize points and arguments in my final publication. As I’m working on it, I keep thinking of new things and supporting arguments I can add to my publication, so I have more material to add to it, and this project as a resource to pull from. I am also wondering if I can work further on it to expand on the same visual language, and if I can maybe propose this mashup of real life and external comic-style illustrations and animations within the confines of a game.
What I have learned:
- How to summarize a rather huge project into one small, super quick project without necessarily losing the essence and the impact of the original project.
- Turning real-life footage into a comic-style theme.
- I wonder if this could also be used as an in-game cinematic of sorts, or if it needs to be slightly changed to adapt to that environment. How would that look?
Coming up next…
- In the next week, I will be starting to brainstorm ideas for my midterm presentation. I want to take that as an opportunity to prototype a choice-based narrative experience by structuring my presentation in a way that it seems like I am playing through a game.
- Some iterations of previous artworks.
- Some brainstorming of newer artworks.
Bibliography:
1: https://www.youtube.com/watch?v=klkhgnJUCjs